
Plastic-free yoghurt
Including incredibly verbose instructions for making your own

I’m the youngest of five, and we were huge consumers of yoghurt (mostly me!), so our family's use of a yoghurt maker was probably mostly motivated by saving money. Back then, yoghurt containers were wax paper cartons that were possibly biodegradable.
But now everything is plastic. Studies have shown that recycling is the 60th most effective action you can take to reduce carbon emissions. That’s out of a list of 61 possible actions!
Recycling does divert waste from landfills, but I argue that recycling is important primarily because it confronts you with your own waste stream. For the past couple of years, I’ve lived in a place with no recycling bin pickup, so we put our recycled materials in a clear plastic bag by the kerbside. This has made me even more aware of the enormous stream of plastic shit I generate.
My giant containers of Cyclops yoghurt, which I consider the best yoghurt in the world, were the biggest offenders. I tried one local brand of yoghurt in glass bottles, but I was not a fan. So, I took matters into my own hands and decided to try making it myself.
Buy plastic to save plastic?
Turns out yoghurt makers, even the ones that don’t use electric power, are mostly plastic. I’m not a fan of buying more plastic to save plastic, so I found this old-school yoghurt maker.

Country Trading Co in New Zealand sells it, but they have a web presence in the US, UK, Canada, and Australia. NZD $70 for the kit (US $45).
Including the packaging, everything is aluminium, glass, cardboard, or paper. In exchange for no plastic, it requires more work on your part. A plastic yoghurt machine handles the whole process, whereas this yoghurt maker requires you to cook and cool the milk, only using this jar and cannister for the fermentation process. So, you’re trading less plastic for more work on your part.
Tools
The yoghurt maker comes with a decent instruction booklet, and I did find a number of recipes online, but I found the instructions to be quite sparse and didn’t handle many of the inevitable questions I had. When things went wrong, there wasn’t much guidance. So I decided to write up a much more verbose description based on my experience making about 50 batches of yoghurt over the past year.
Here’s what I use to make one batch of yoghurt:
2 of the yoghurt makers listed above (so I can make large batches)
1.5 L of whole milk
50ml of cream (double cream or whipping cream can work)
Packet of yoghurt culture (or commercial plain yoghurt, or saved yoghurt from a previous batch)
Optional: vanilla beans or paste, honey
Large enamelled cast iron pot, sufficient to hold all the liquid
Stainless steel whisk
Stainless steel ladle
Stainless steel funnel
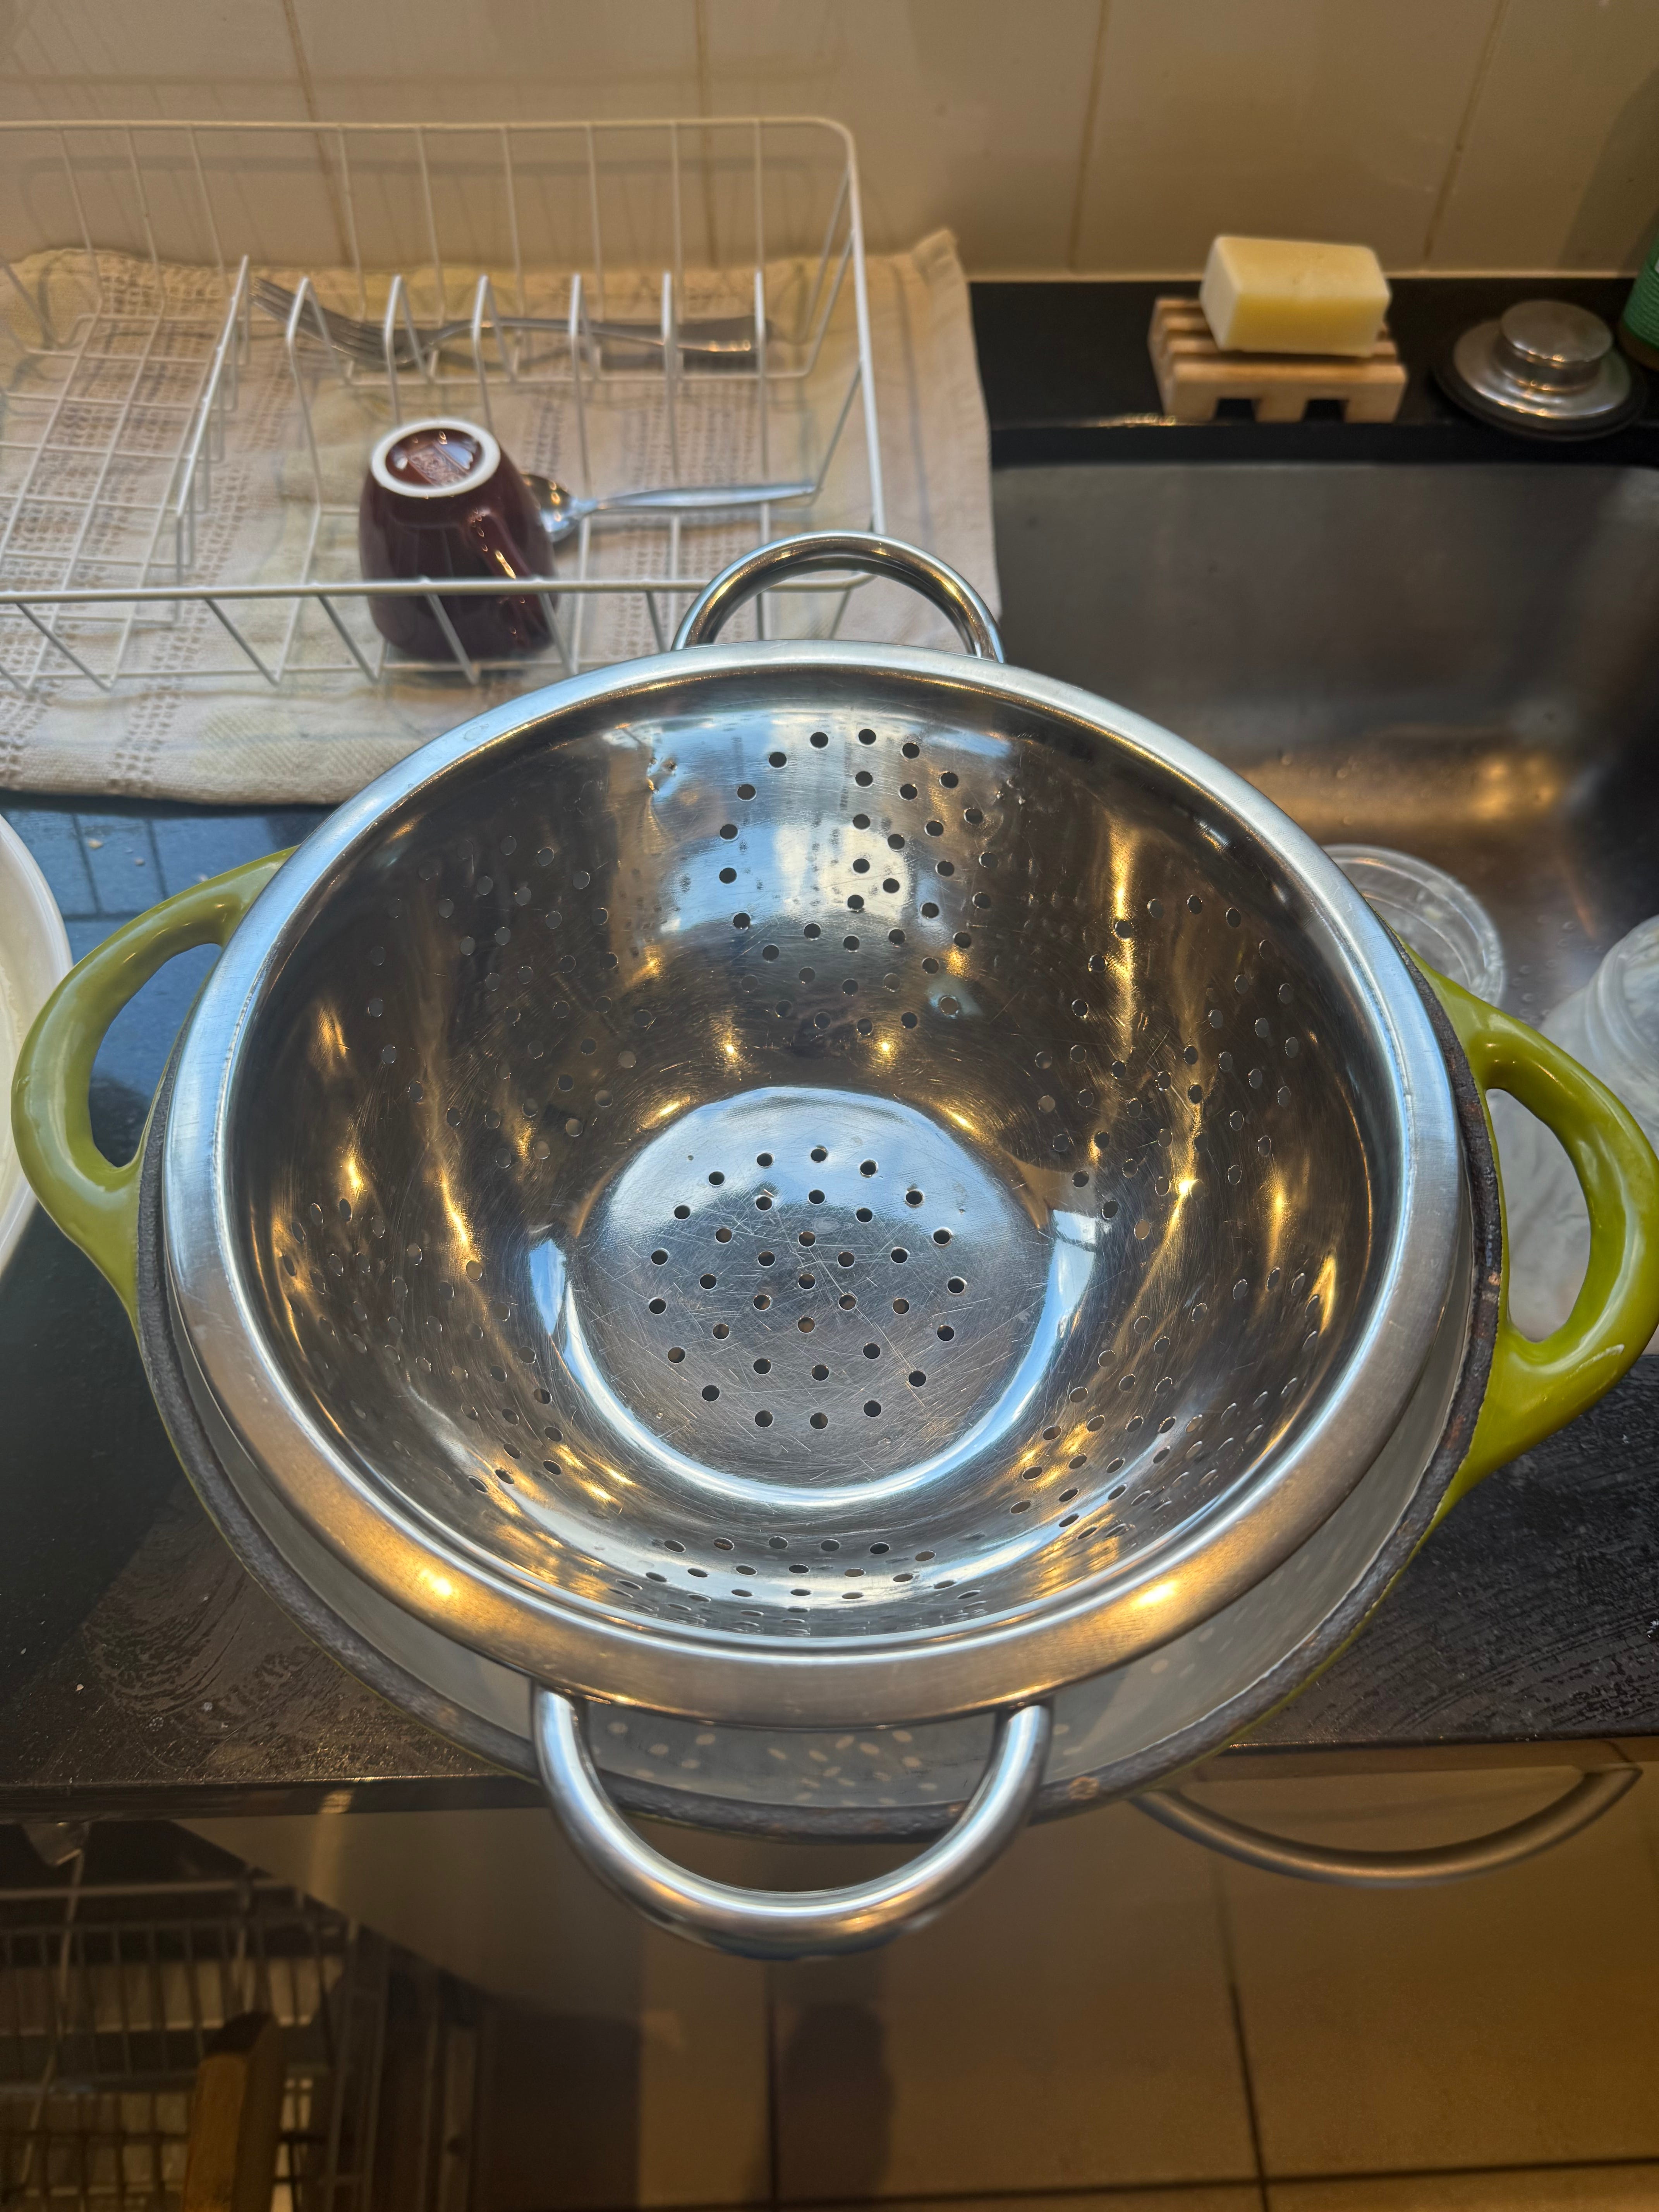
Stainless steel colander
Large bowl for whisking the final product
Jars to store your yoghurt
Optional: 2 pieces of cheesecloth for Greek-style yoghurt (available from Country Trading)
Thermometer (available from Country Trading as well)
Silicone scraper
A bunch of time!
I’m using a silicone scraper from the place I’m renting, which is made of silicone, which is partially plastic. Since I didn’t buy it, I am less annoyed by it, but I think I’ll find an alternative eventually.
Experimental mindset
I would encourage you to think of yoghurt making with an experimental mindset. The first time, try to follow a recipe. But each time you repeat the process, take note of what you did, evaluate the final product, and then consider making small changes the next time. I started with the longest and slowest techniques possible, refined them over time until I was really happy with the quality of the yoghurt, and then worked on simplifying and reducing the overall time while not compromising the quality.
At the end, there’s a section for troubleshooting that can give you some ideas of what tweaks to try if it didn’t turn out exactly as you wished.
Cooking
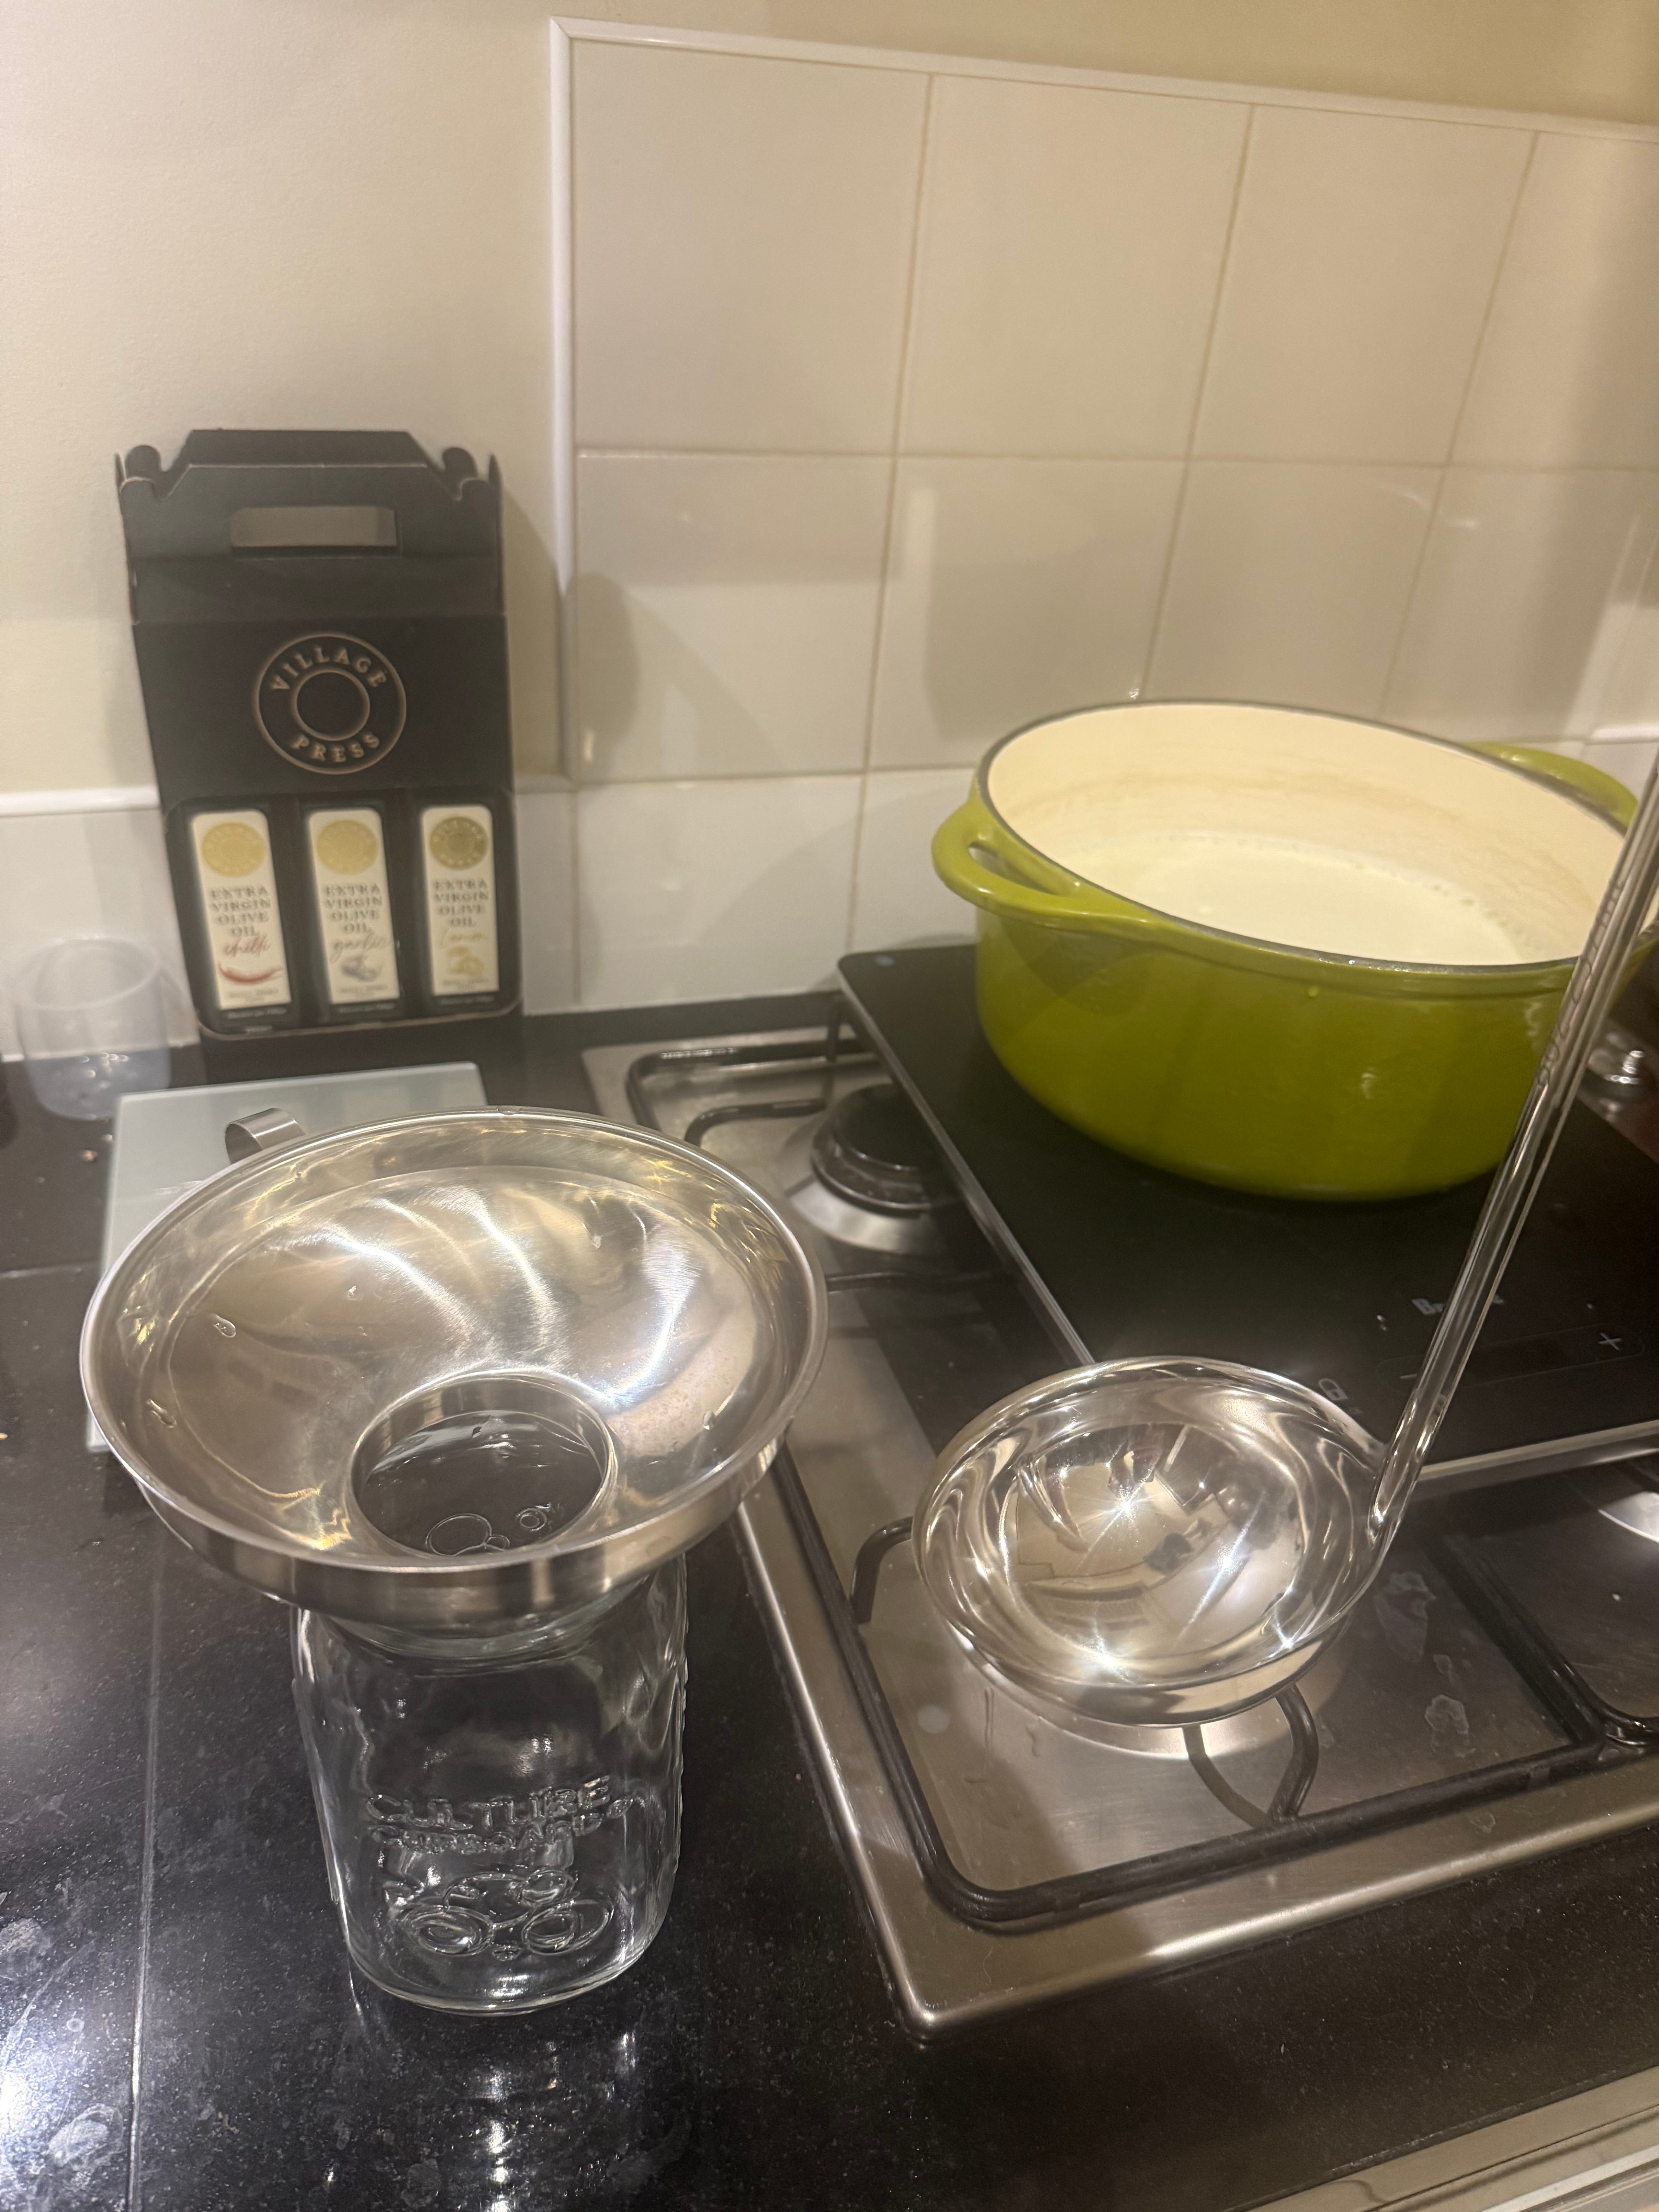
Before starting the cooking process, I’d recommend having the yoghurt maker, glass jar, ladle, and funnel ready to go. You want to get the milk mixture into the jars when it’s close to the 45°C temperature, so if you’re fumbling around for supplies, it may get too cool.
The process starts with adding the milk and cream into the pot, along with the seeds from half to one full vanilla bean. Note that the cream isn’t mandatory, but my goal was to replicate my favourite yoghurt, which uses added cream. I’m planning to try vanilla bean paste in a future recipe, so I will update the recipe with how that works. Note that vanilla beans easily double the cost of your recipe and are not required for amazing yoghurt.
I whisk everything together to make sure the cream and optional vanilla beans are mixed up nicely. Attach the thermometer to the bowl so the tip of it goes halfway down into the mixture without touching the bottom of the bowl.
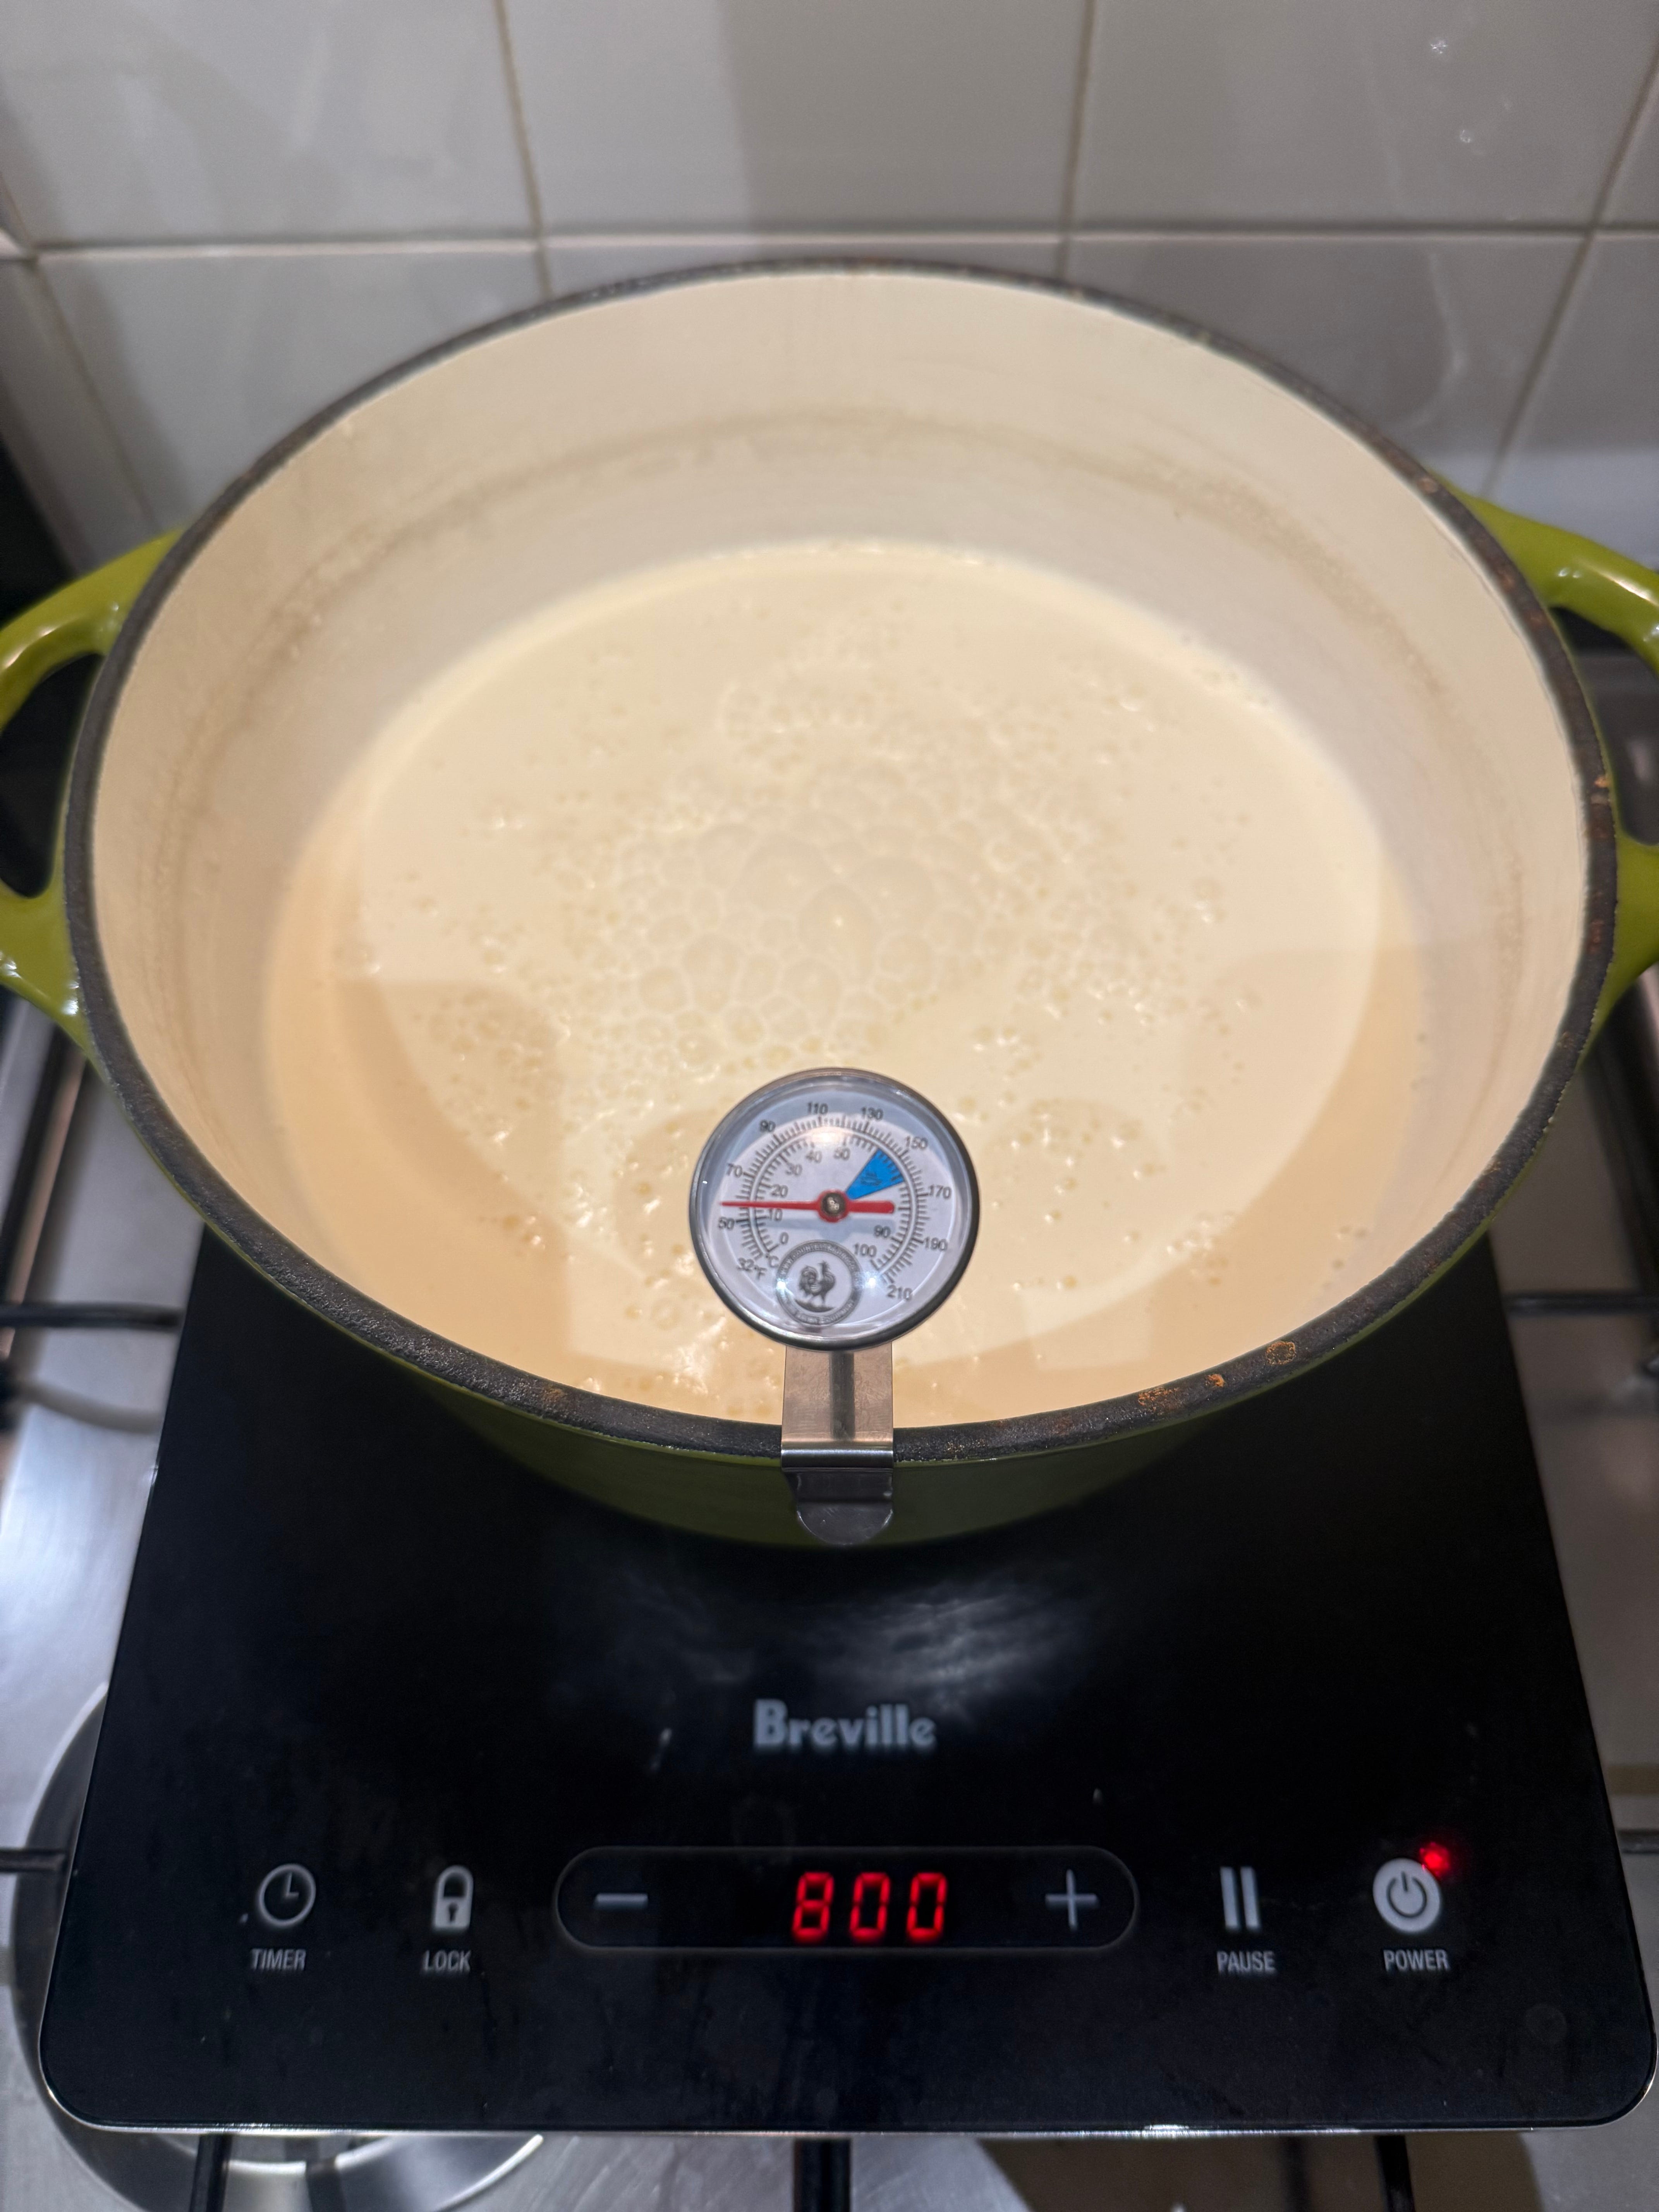
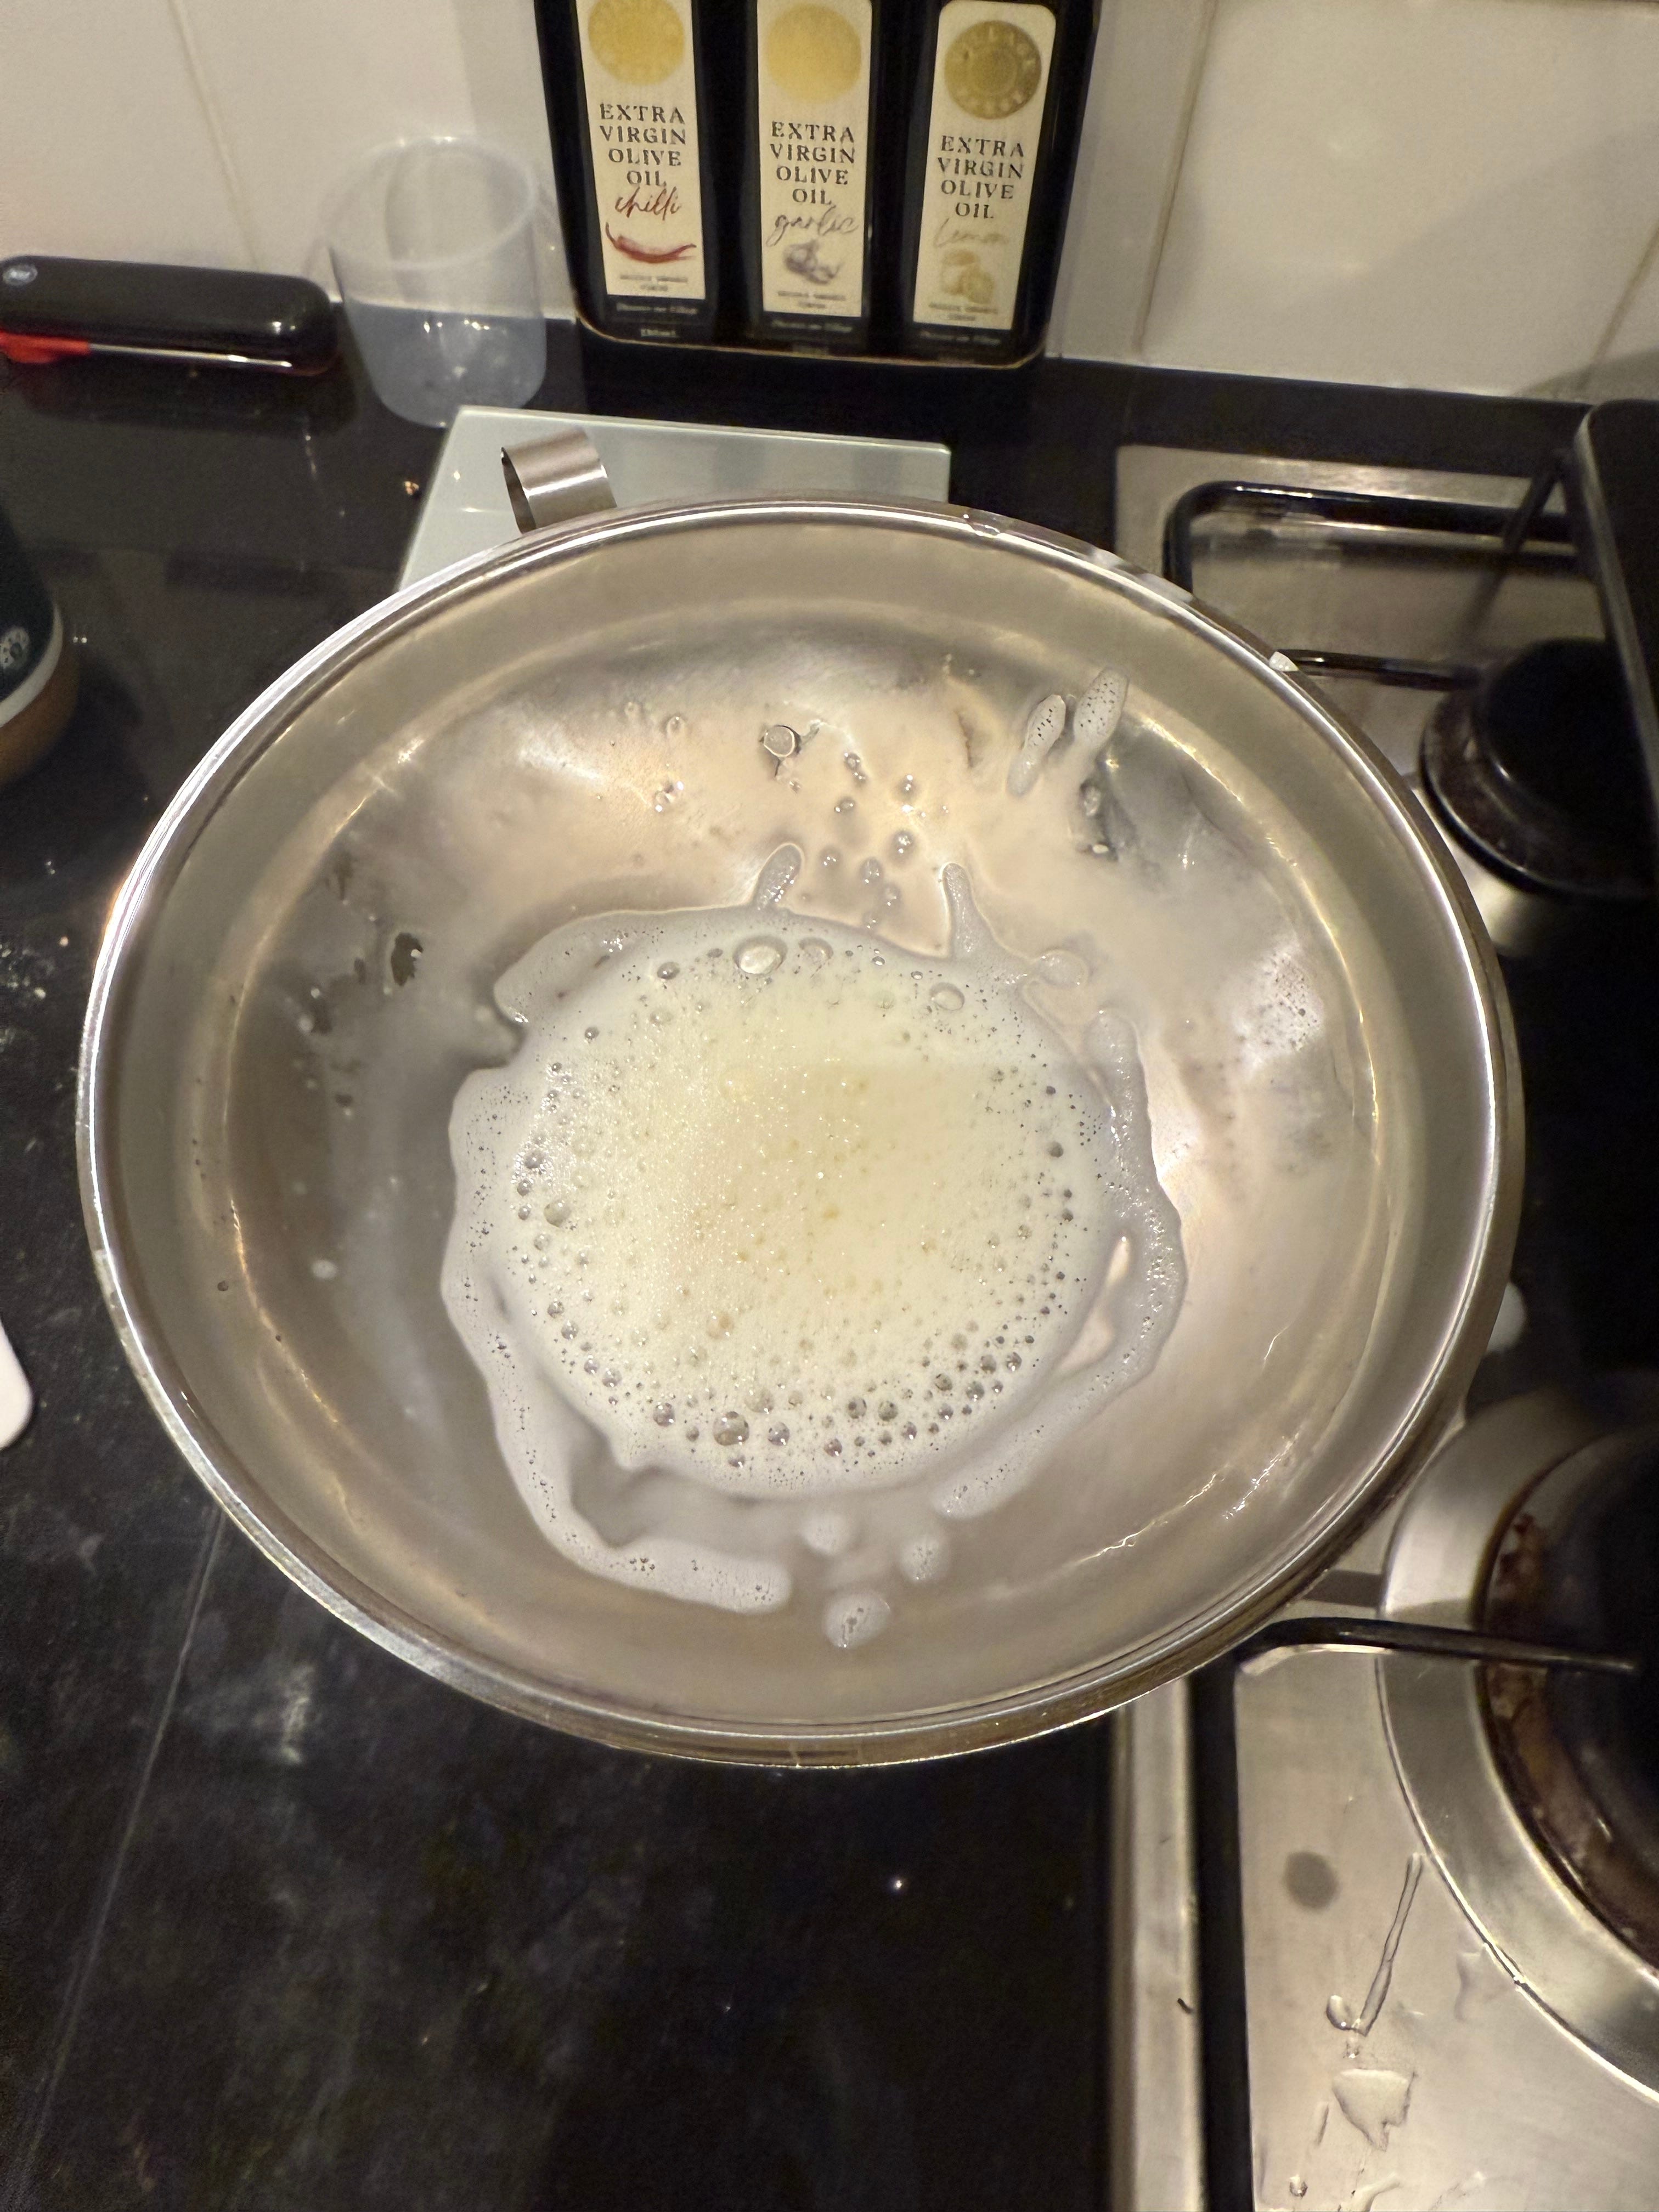
I’ve experimented with different methods to heat the mixture up to the target of 90°C. The key issue is that you can burn the milk if you heat it too quickly or don’t stir it often enough. Until it gets up to about 70°C, you can just whisk the mixture every few minutes, but be more attentive as it gets hotter than that.
I’ve tried two approaches:
Whisking once a minute while allowing the temperature to slowly rise up to 90 °C
Whisking continuously while jacking up the heat
Whatever approach you take, I recommend setting a timer to go off once a minute the first few times you make yoghurt to make sure you don’t get distracted and forget. Burned milk can make the pan harder to clean and may slightly alter the taste, but you’ll still end up with great yoghurt, so don’t worry.
One thing to note is that the temperature reading on the thermometer will rise a bit as you stir, as contact with the hot sides of the pot will raise the overall temperature. You should always check your thermometer reading only after you’ve been stirring for 5 seconds or so, as it will be most accurate.
Once the temperature hits 90°C, you can turn off the stove. You have several options for cooling down the mixture to 45°C, which is the target temperature for adding the yoghurt culture.
Just leave it as is and wait for it to cool
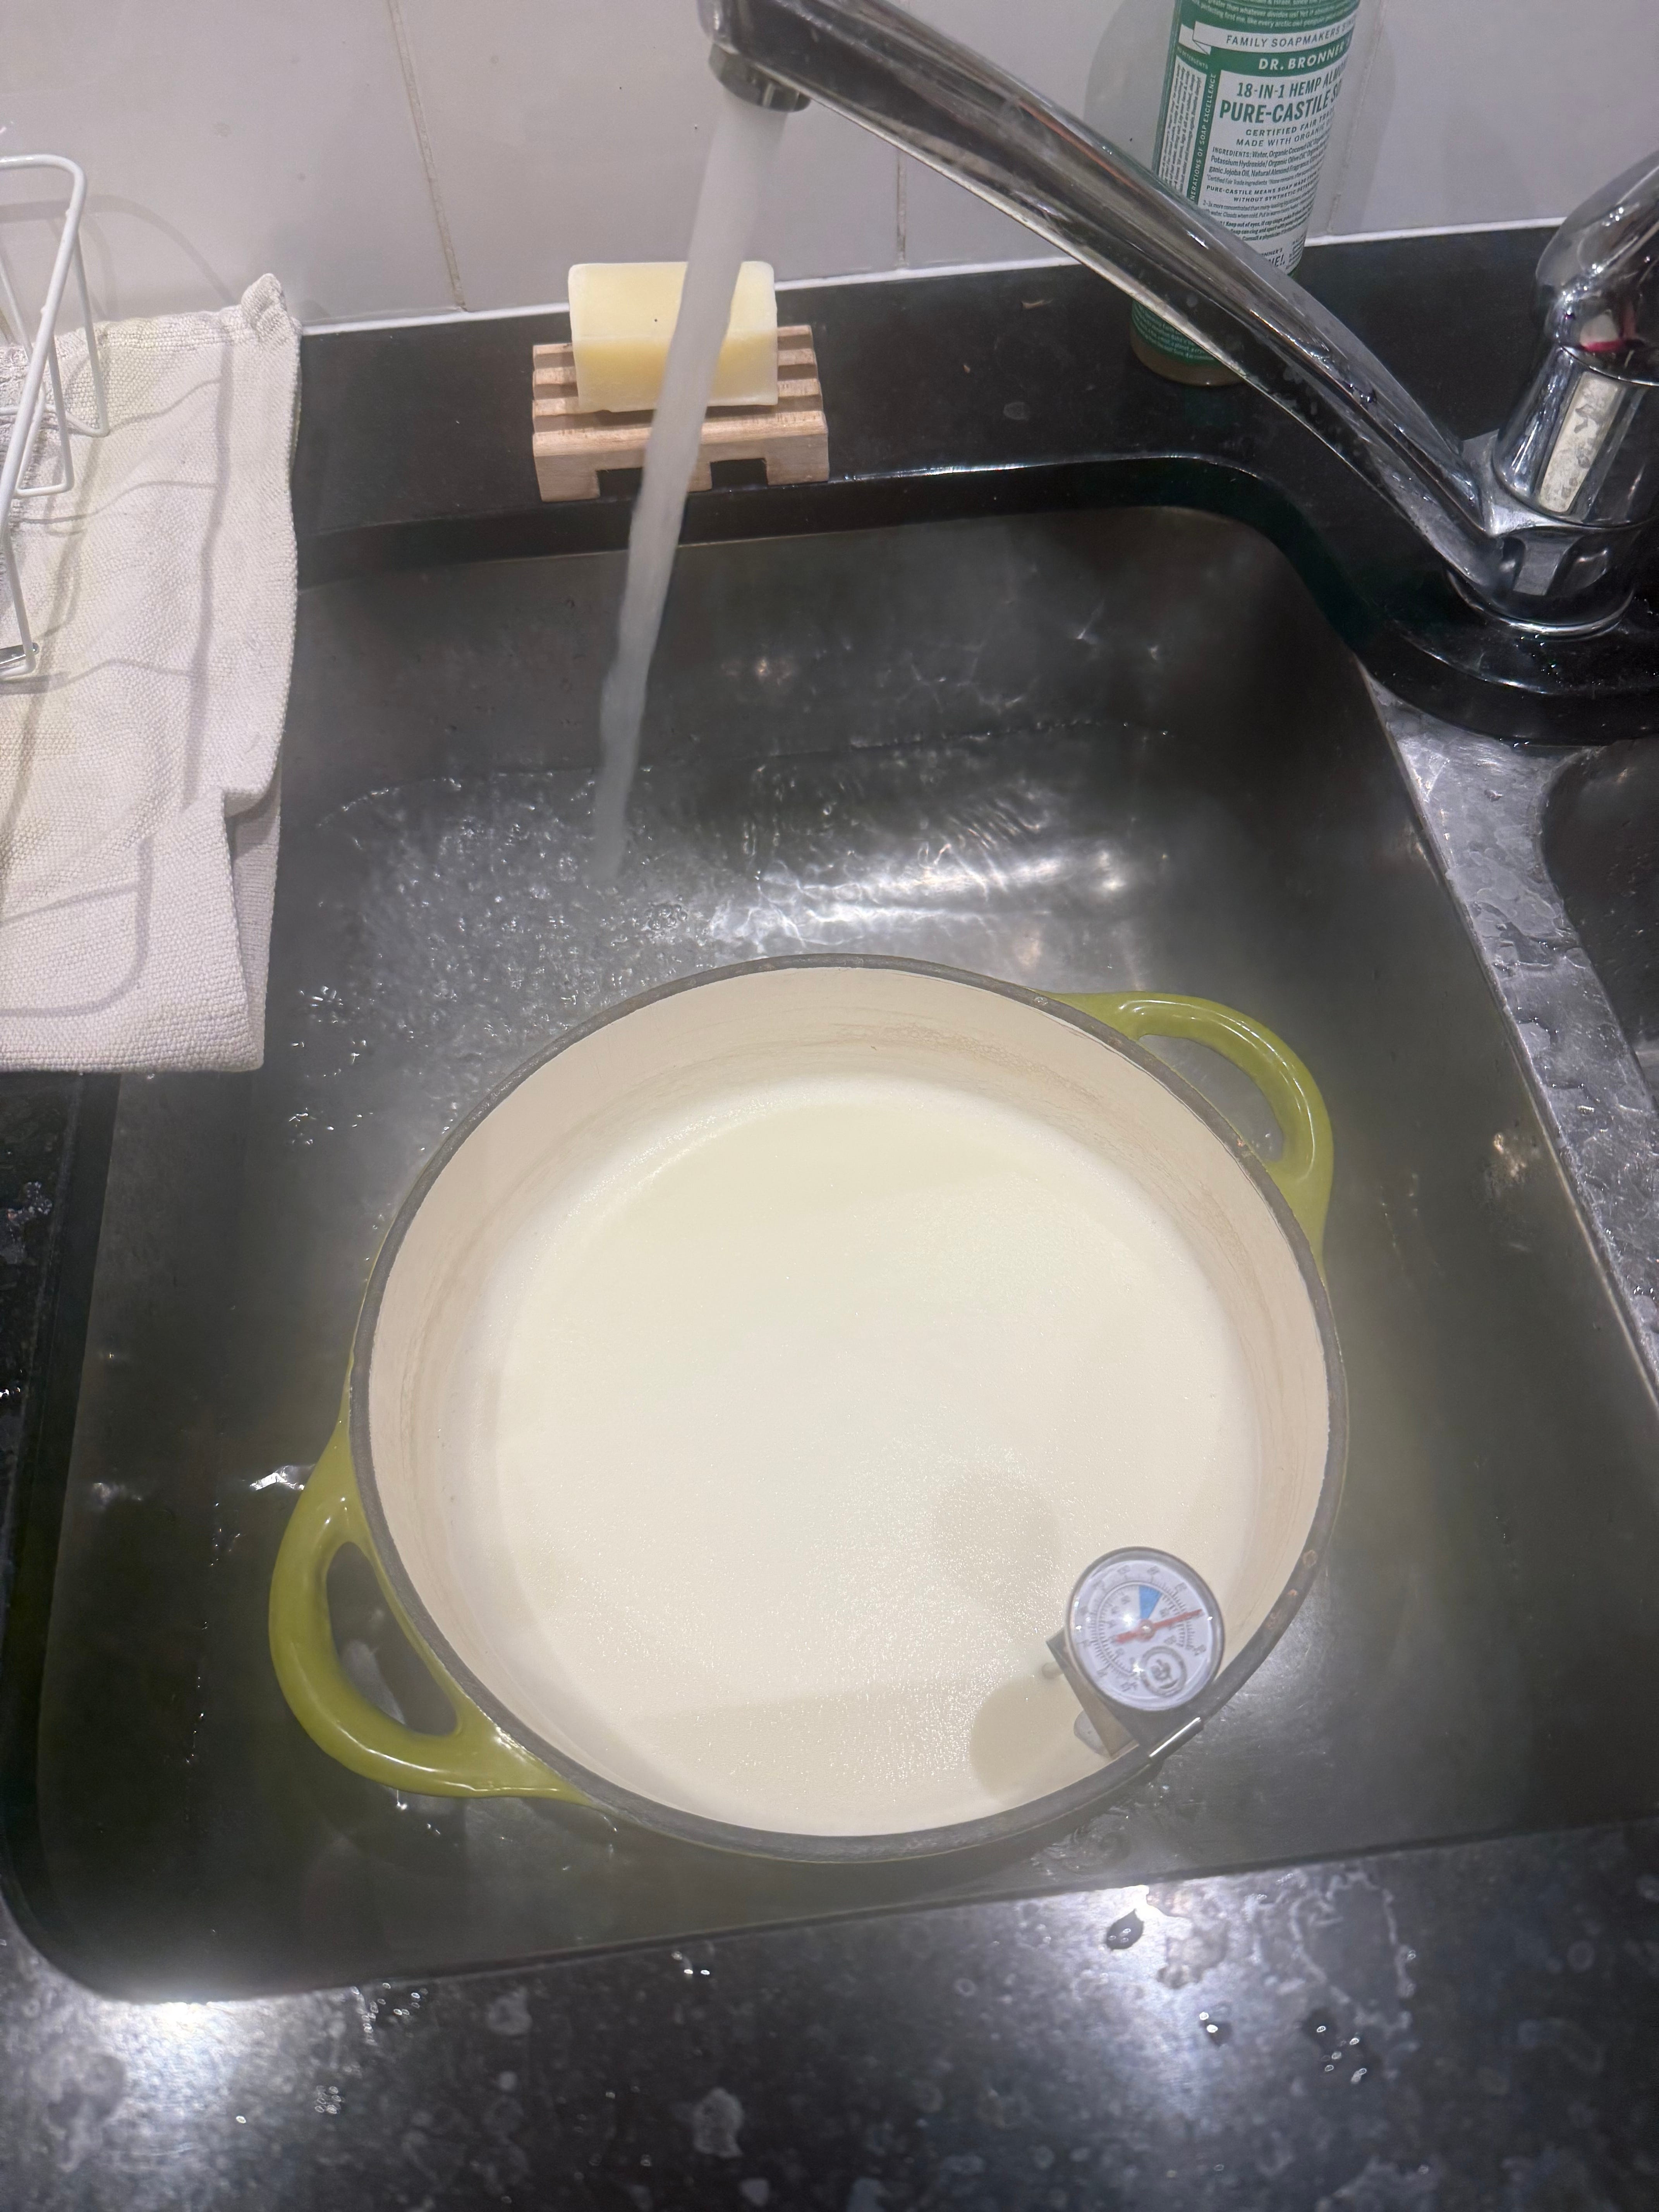
Put the bowl in the sink, stopper it, and fill the sink with cold water
Same as above, but add ice to the water in the sink
There are pros and cons to each approach. It can take a really long time to cool, especially in a cast-iron pan, and you risk letting it cool too much if you’re not paying attention. Putting it in the sink and filling it up with cold water can cool it down in under 5 minutes. Adding ice can shave down your time by half or more.
Just as with heating the mixture, you’ll get the most accurate reading while whisking it, as it will cool a few degrees while stirring. If using the water or ice cooling method, I like to take it out of the bath when it drops below 50°C so I don’t overcool it.
What if I screw it up?
None of the recipes I found in my little yoghurt book or online told me what to do if I messed up any of the cooking process, but I did my own digging and got some answers.
If you end up boiling it over 90°C, the worst that can happen is that you’ll get more burned milk in the mixture. It’s not a health risk, but maybe it might end up tasting weird; there’s no harm in eating it.
If you end up cooling it below 45°C, the fix is simple. Just put it back on the stove and gently heat it back up to 45°C. No harm, no foul. The key thing is to get a temperature that the yoghurt bacteria will like. You don’t need to start over with the whole process!
Fermentation
When it hits 45°C, add the packet of yoghurt culture if you went that route, or add a tablespoon of some plain yoghurt, either from store-bought yoghurt or a previous batch you made. Whisk it together nicely.
Now, put the funnel in one of the jars and start ladling in the mixture. The recipe I’ve listed here will fully fill up the two jars, so you can fill them to the brim. Depending on which cooking method you use, you may end up with varying amounts of milk as some will have boiled off. If you find that there’s excess milk, just decrease the amount of milk in the next batch, and you’ll be good to go. The proportions of milk to cream are not important.
Screw the lids on the jars, insert them into the yoghurt maker, and close the lid. You want to leave the jars in a room temperature sort of place, so not next to a single-pane window on a winter day, for example.
If your house is cold and it’s winter, this can impact the fermentation, and you’ll end up with failed fermentation or more watery yoghurt. There are a couple of things you can do, either together or just one of these options:
While you are cooking the yoghurt, fill the glass jars and the yoghurt makers with hot tap water. Empty them out just before you ladle in the milk.
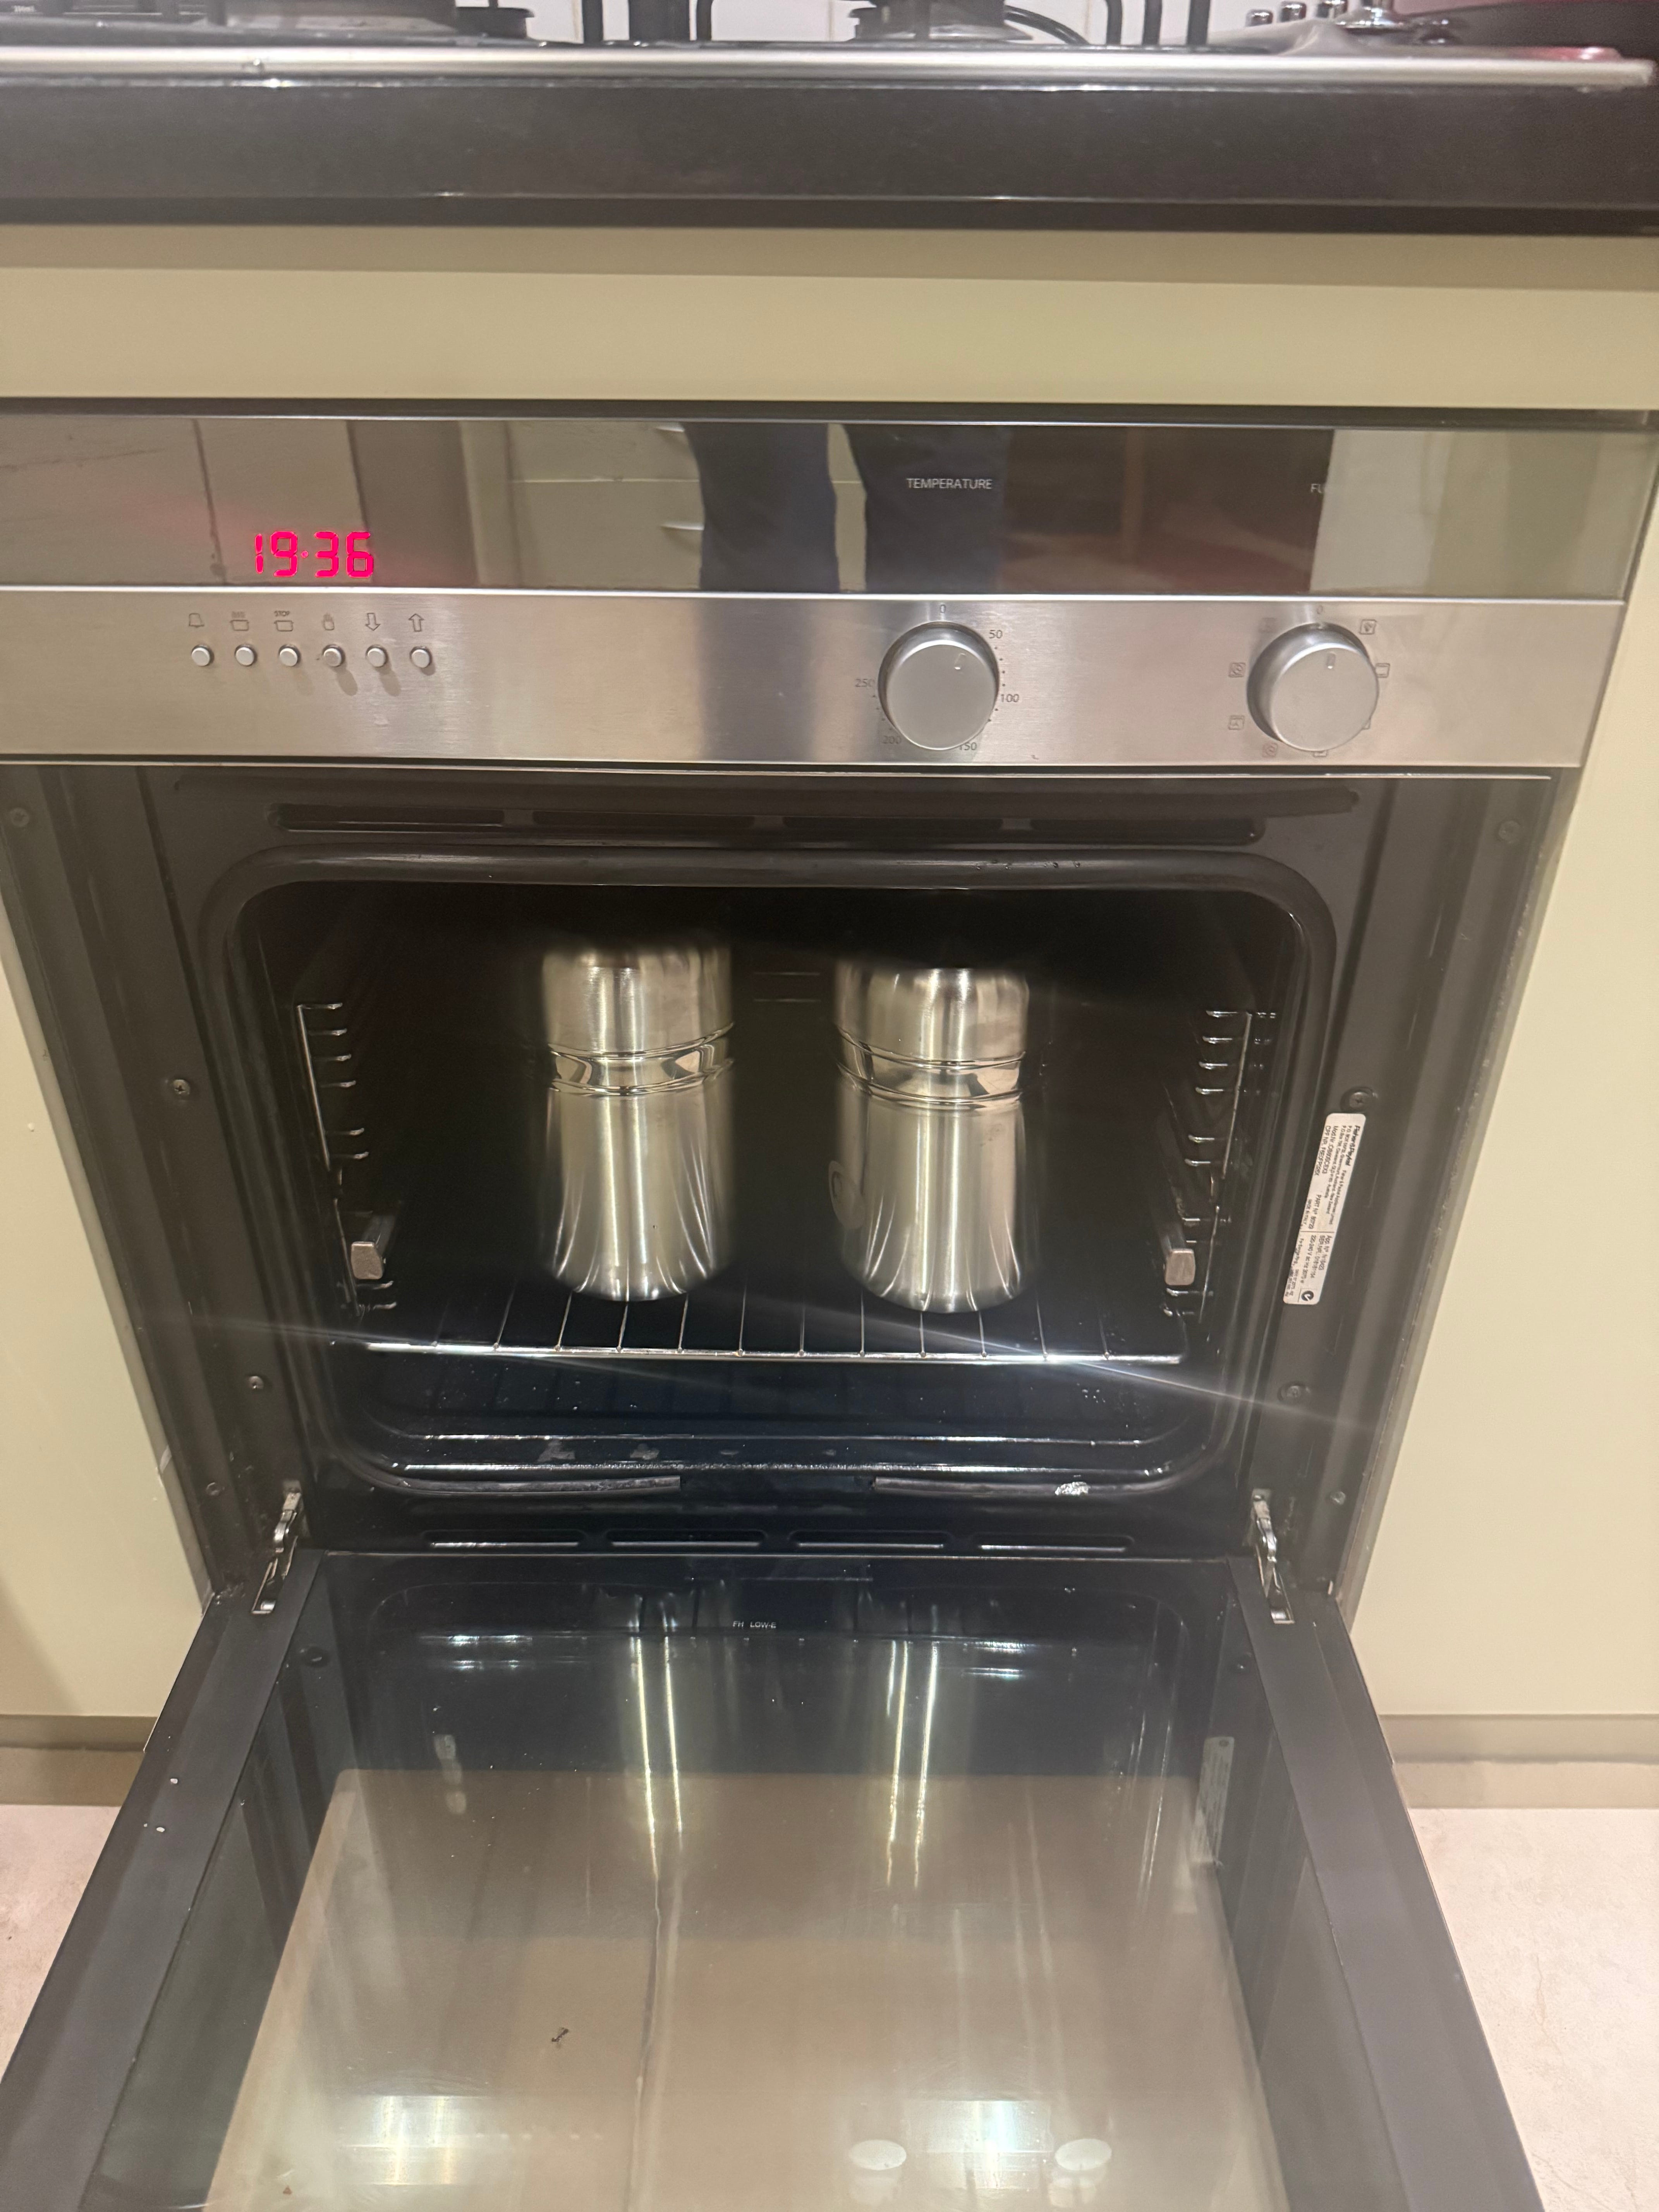
Put the yoghurt makers in your oven (off) and close the door. The heat emanating from the yoghurt makers will get trapped in the oven and slow the cooling process.
Wait a minimum of 12 hours. If you open the yoghurt maker and the glass jars are still warm to the touch, you could get more fermentation to take place by leaving them for another few hours. When you open the jars and tilt them a bit, you should get an idea whether fermentation was successful. If it’s still liquid, it failed! If there is some firmness to it, then you have some fermentation. If it’s really firm, then you've got a lot. It’s a matter of personal preference, but in general, you want to maximise your fermentation to get the most health benefits.
When the interior glass jars are no longer noticeably warm to the touch, the fermentation process is over, and there’s no benefit to letting it go longer. As you evaluate your final product, you may find you want to extend the time to get thicker yoghurt, or you may find that you can still make great yoghurt and decrease the time. There’s no harm in experimentation!
Greek yoghurt?
Your choice at this step is whether you want to make regular yoghurt or Greek-style, which can be thicker, creamier, and higher in protein and lower in carbohydrates. All yoghurts are really great for you, so it’s really more of a personal preference. Removing whey will alter the taste profile. Some people feel yoghurt tastes less like yoghurt with less whey, while others say the exact opposite!
Regardless of what path you choose here, I would dump the yoghurt out of the jars into a large bowl for whisking. You may need to scrape out the jars as the yoghurt will sometimes adhere to the sides. Even if you opted out of using cream, you may also get a layer of cream rising to the top of the yoghurt. This isn’t necessarily a bad thing, but the yoghurt will taste uniformly better, in my opinion, if the cream is evenly mixed in.
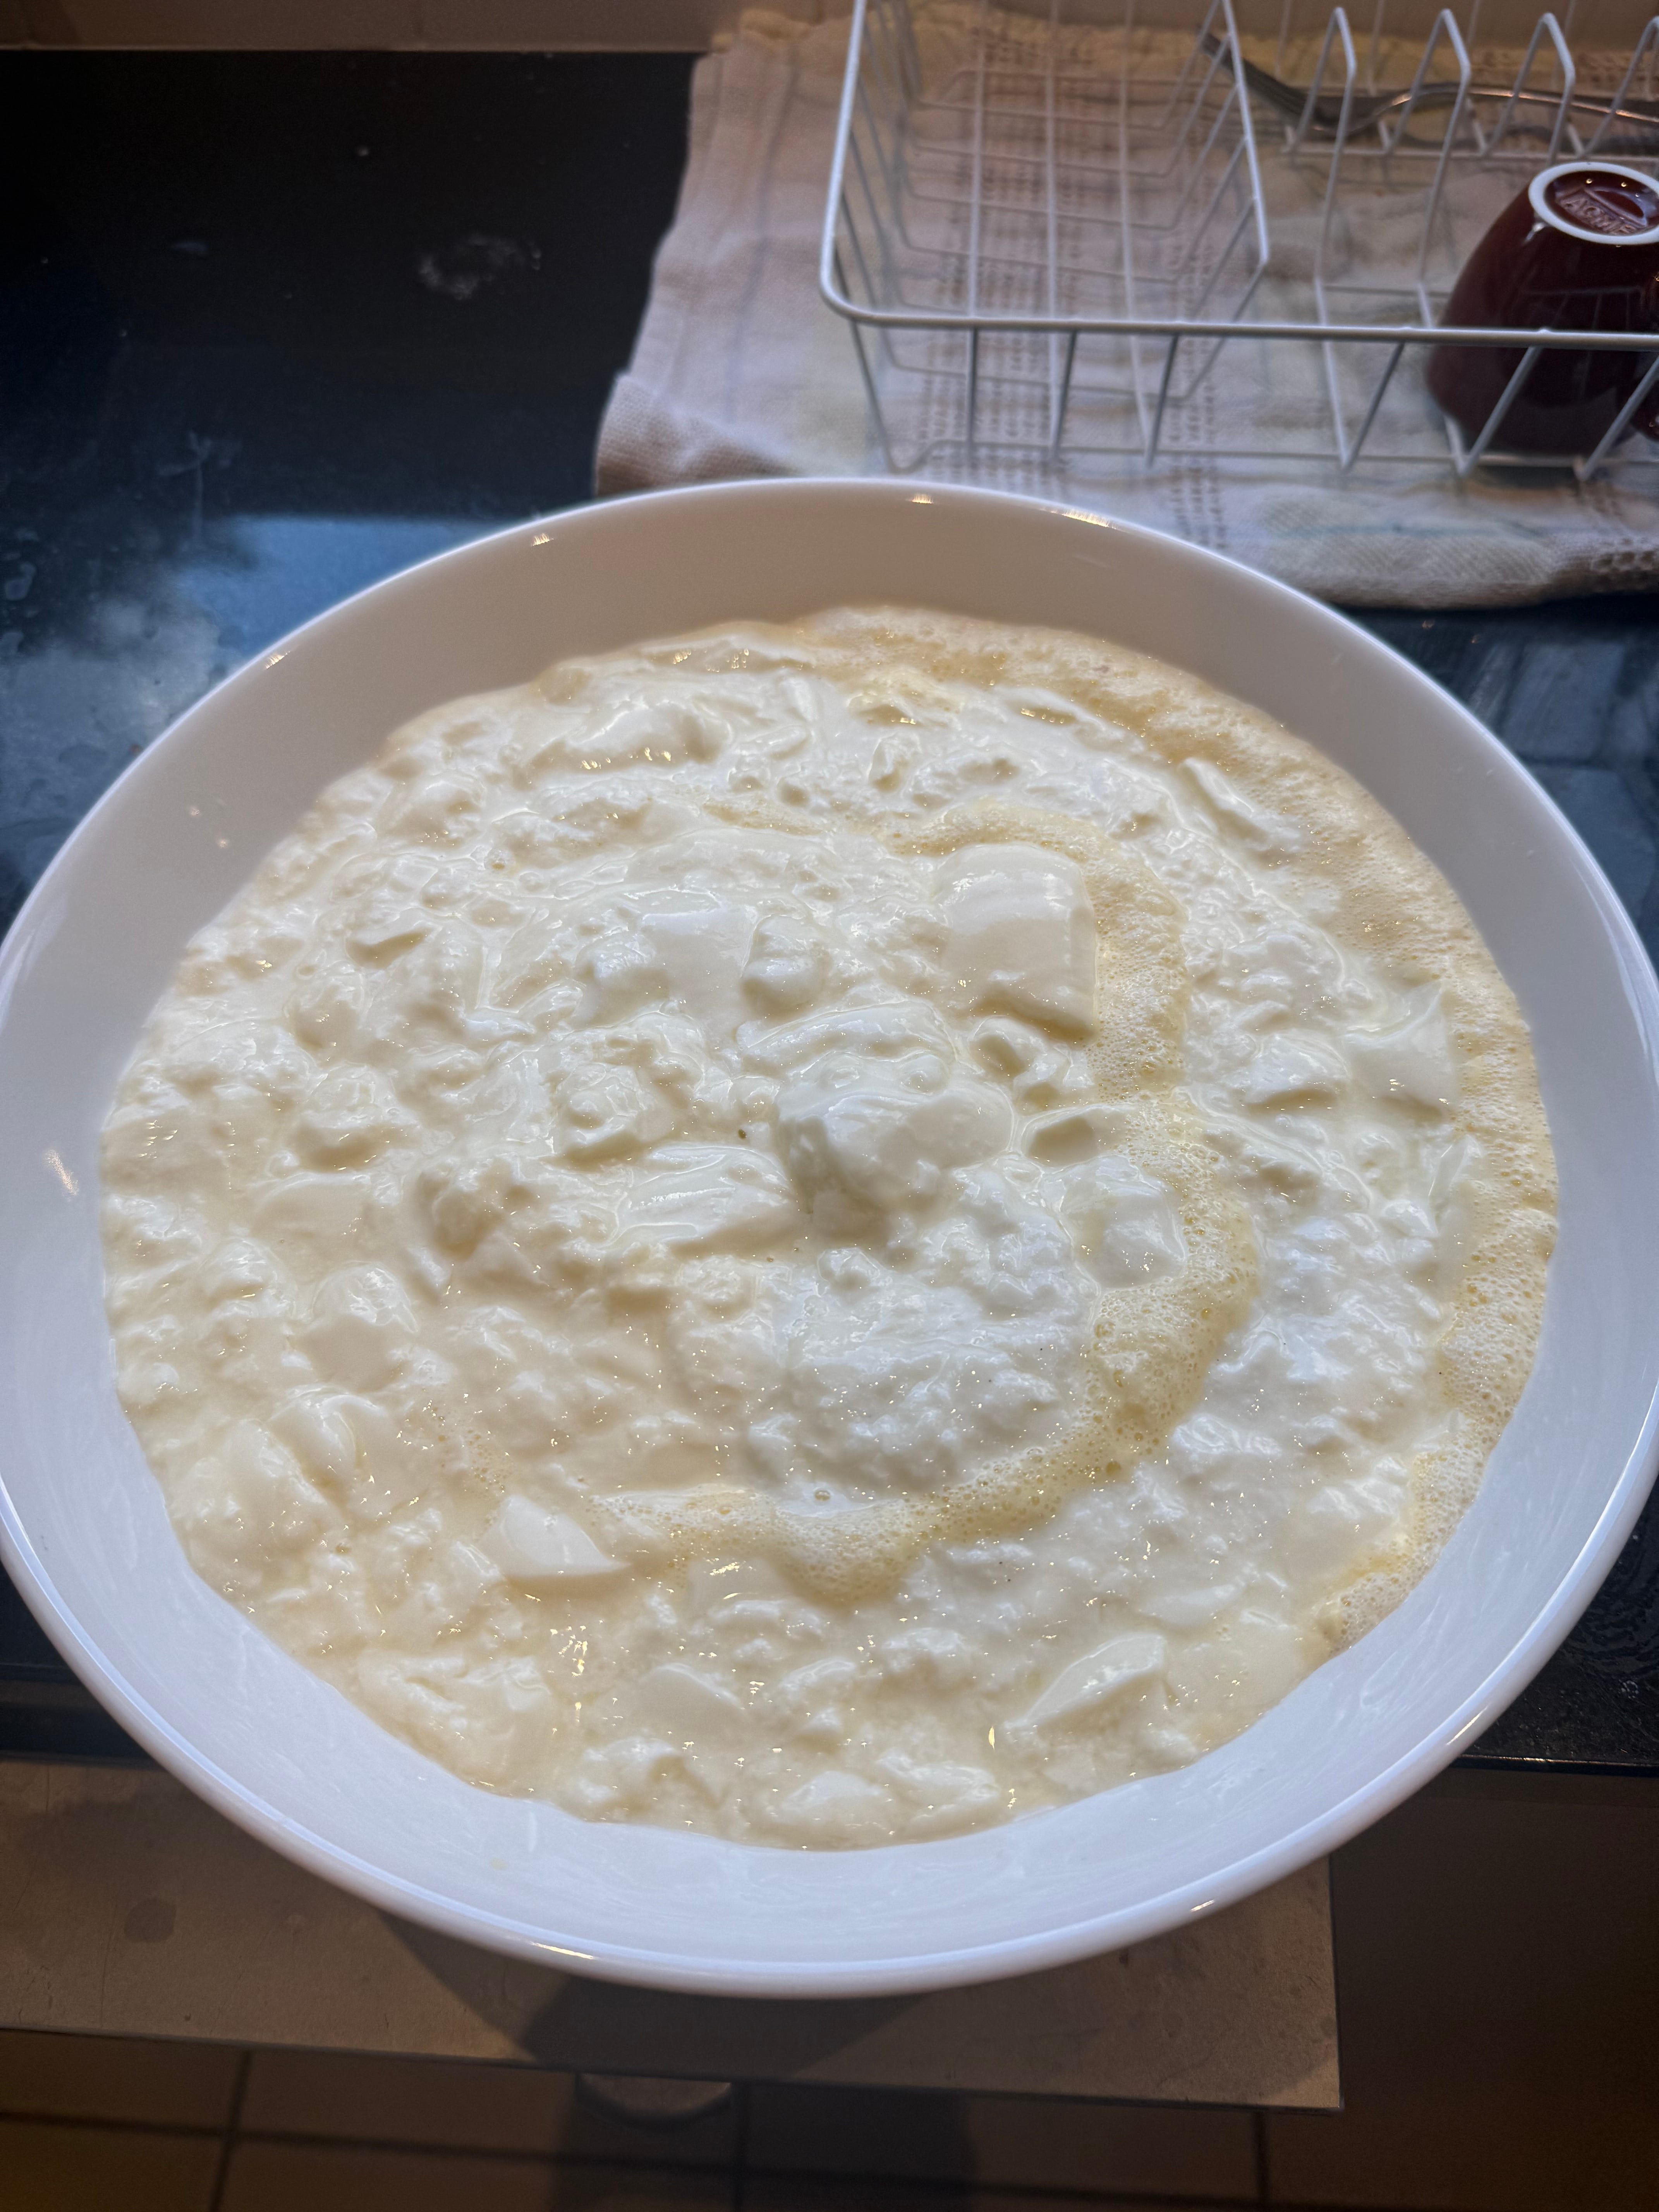
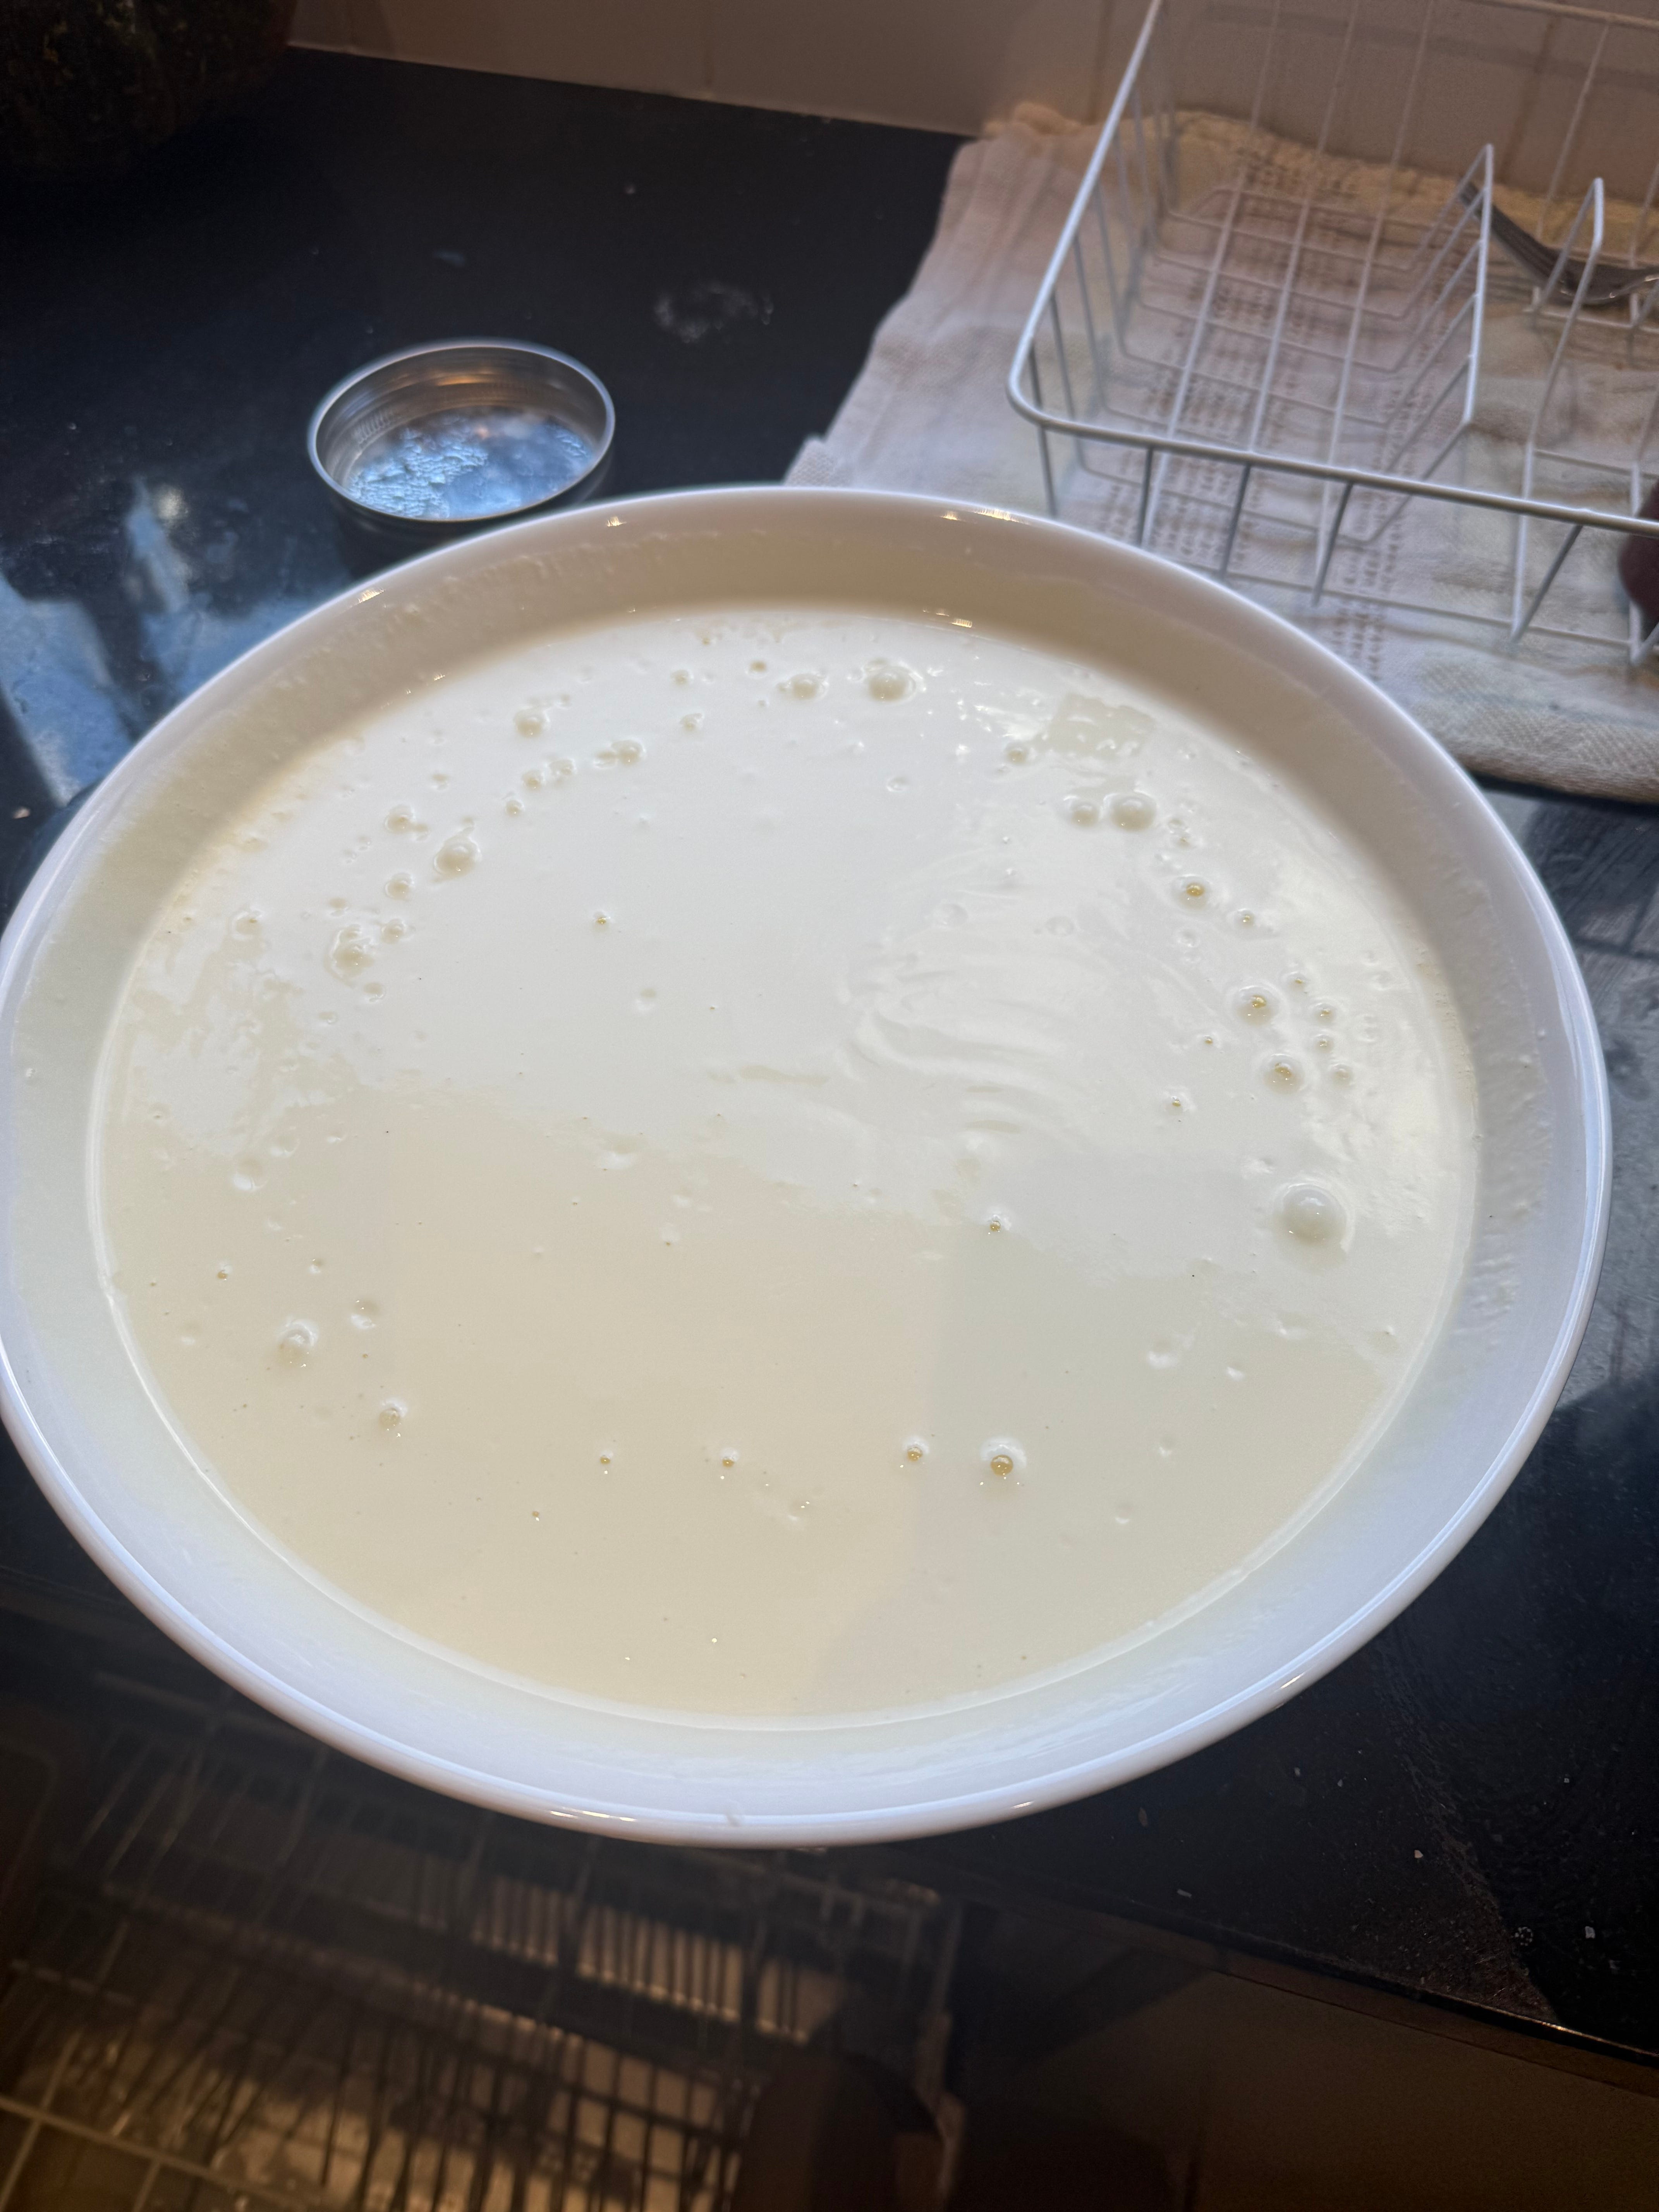
Once I’ve whisked the yoghurt until it’s smooth, you can make the decision about Greek yoghurt. For regular yoghurt, just skip to the next section.
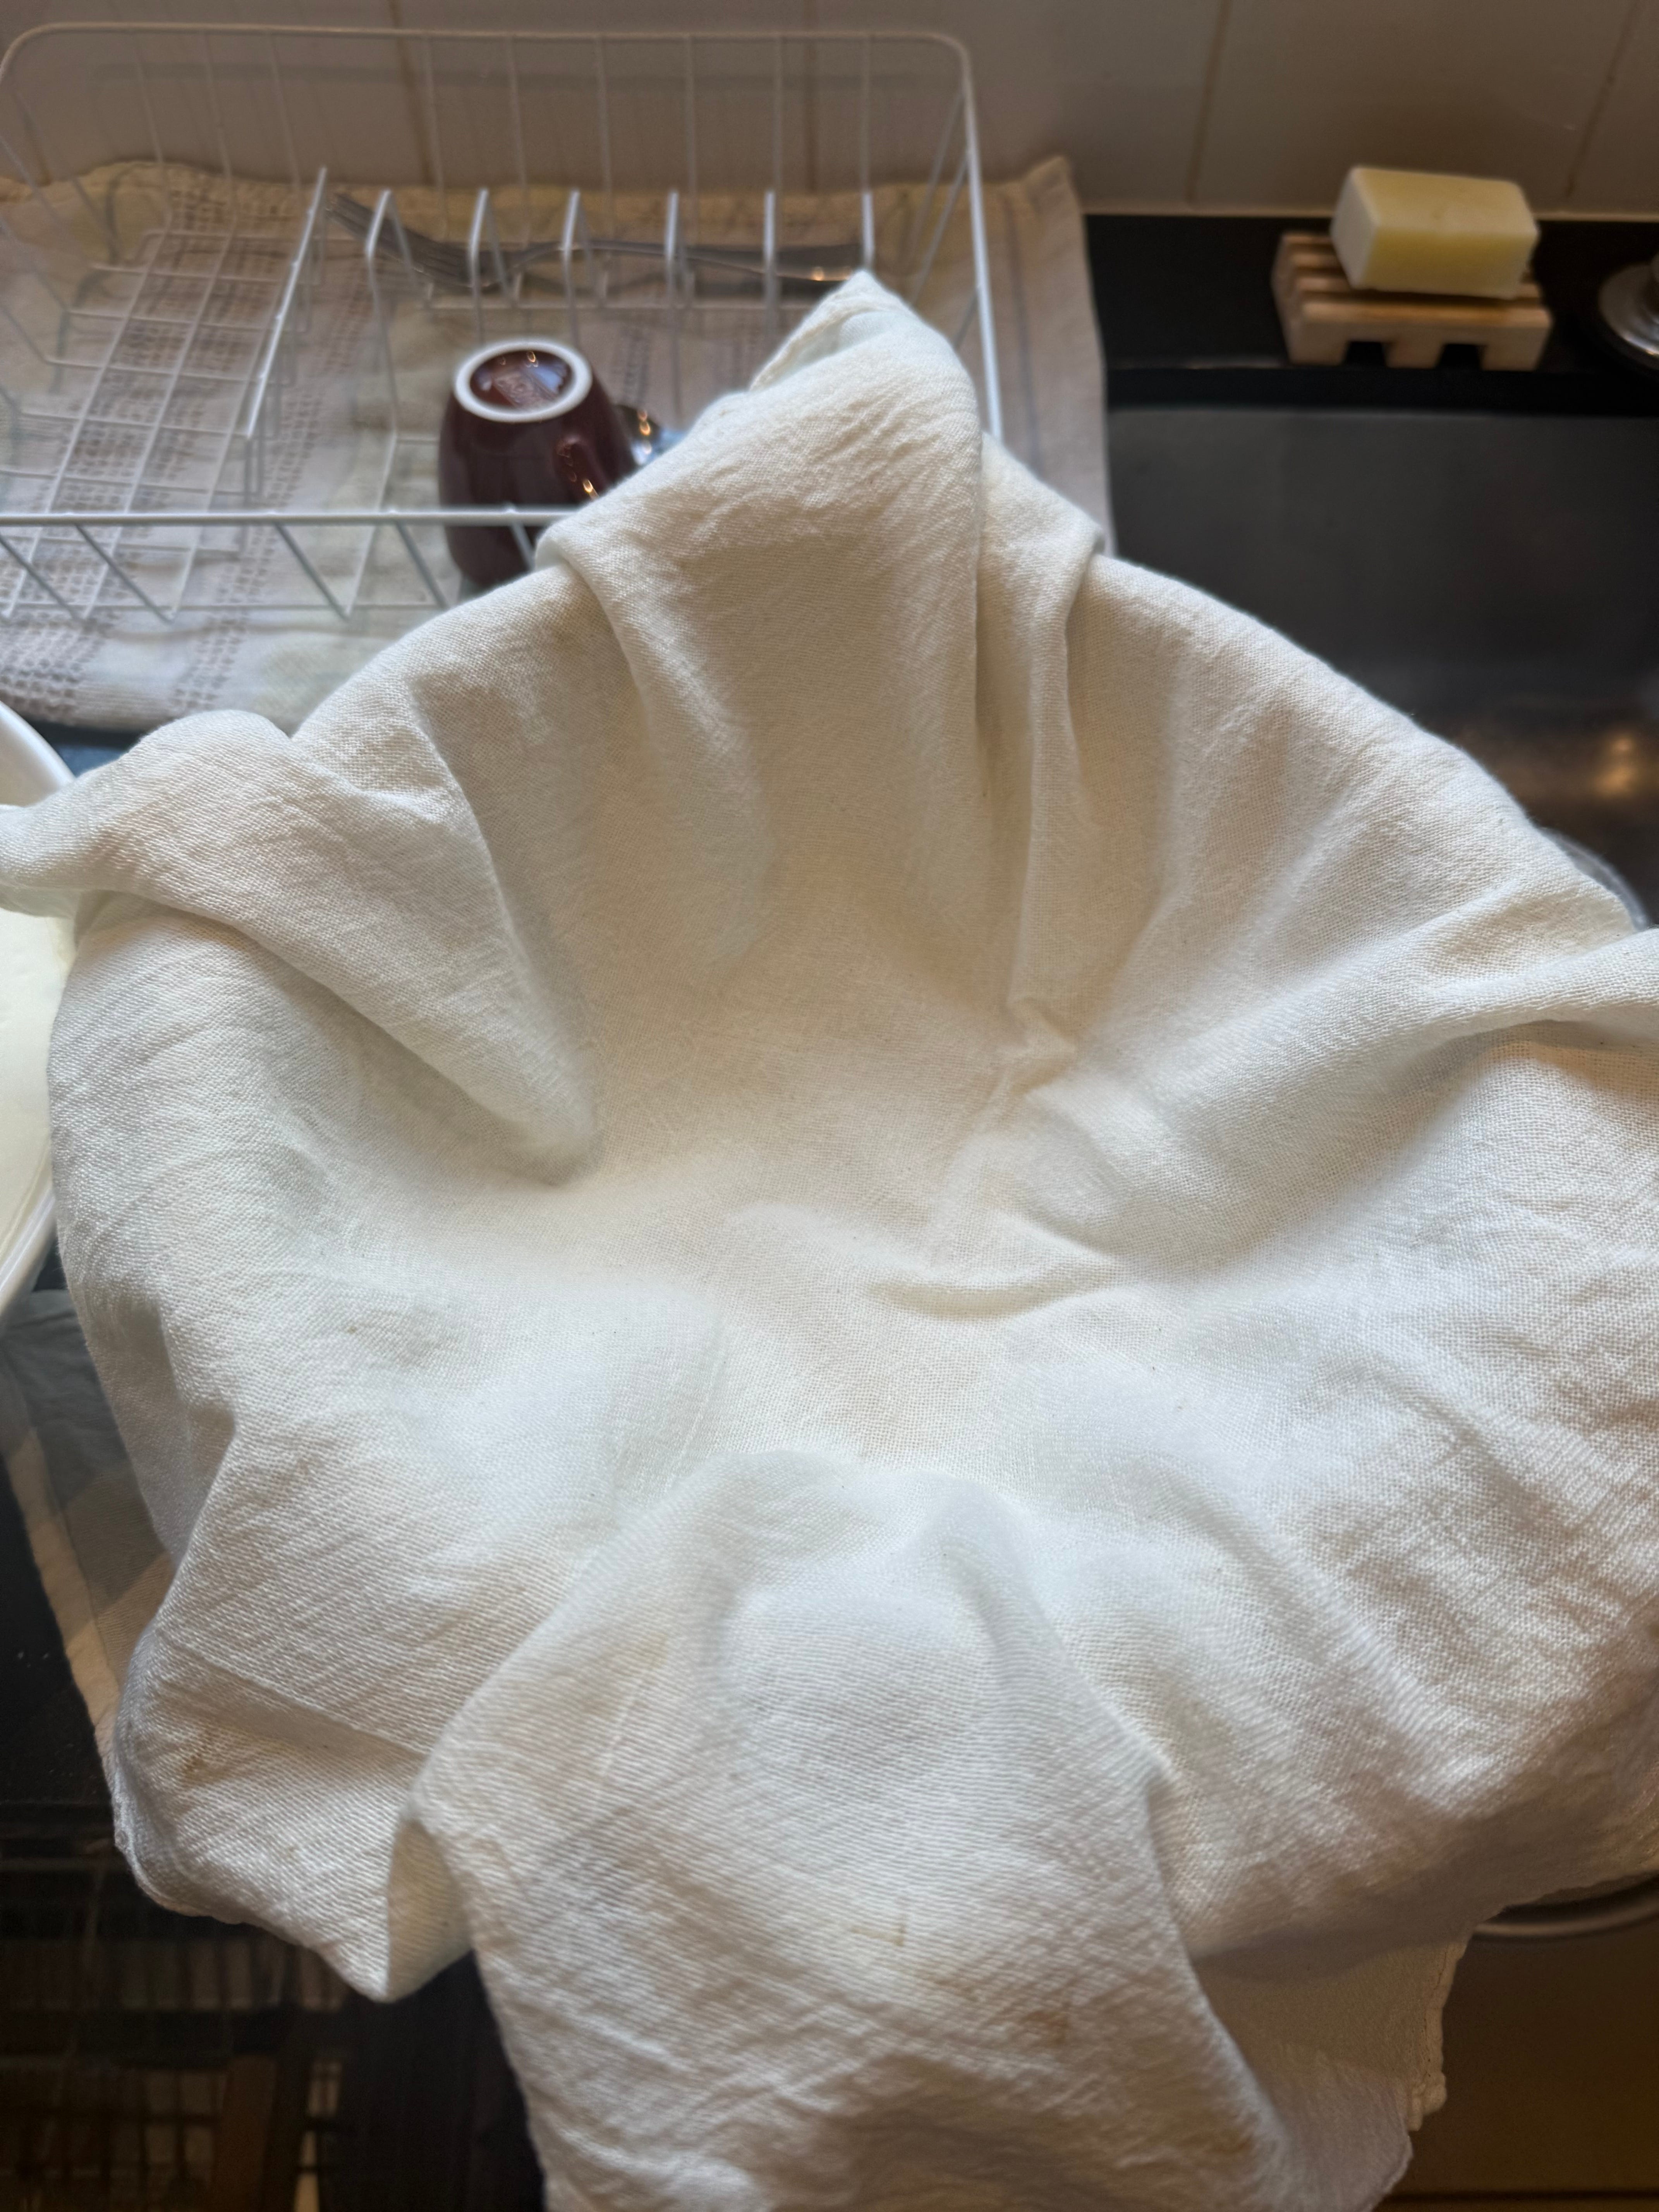
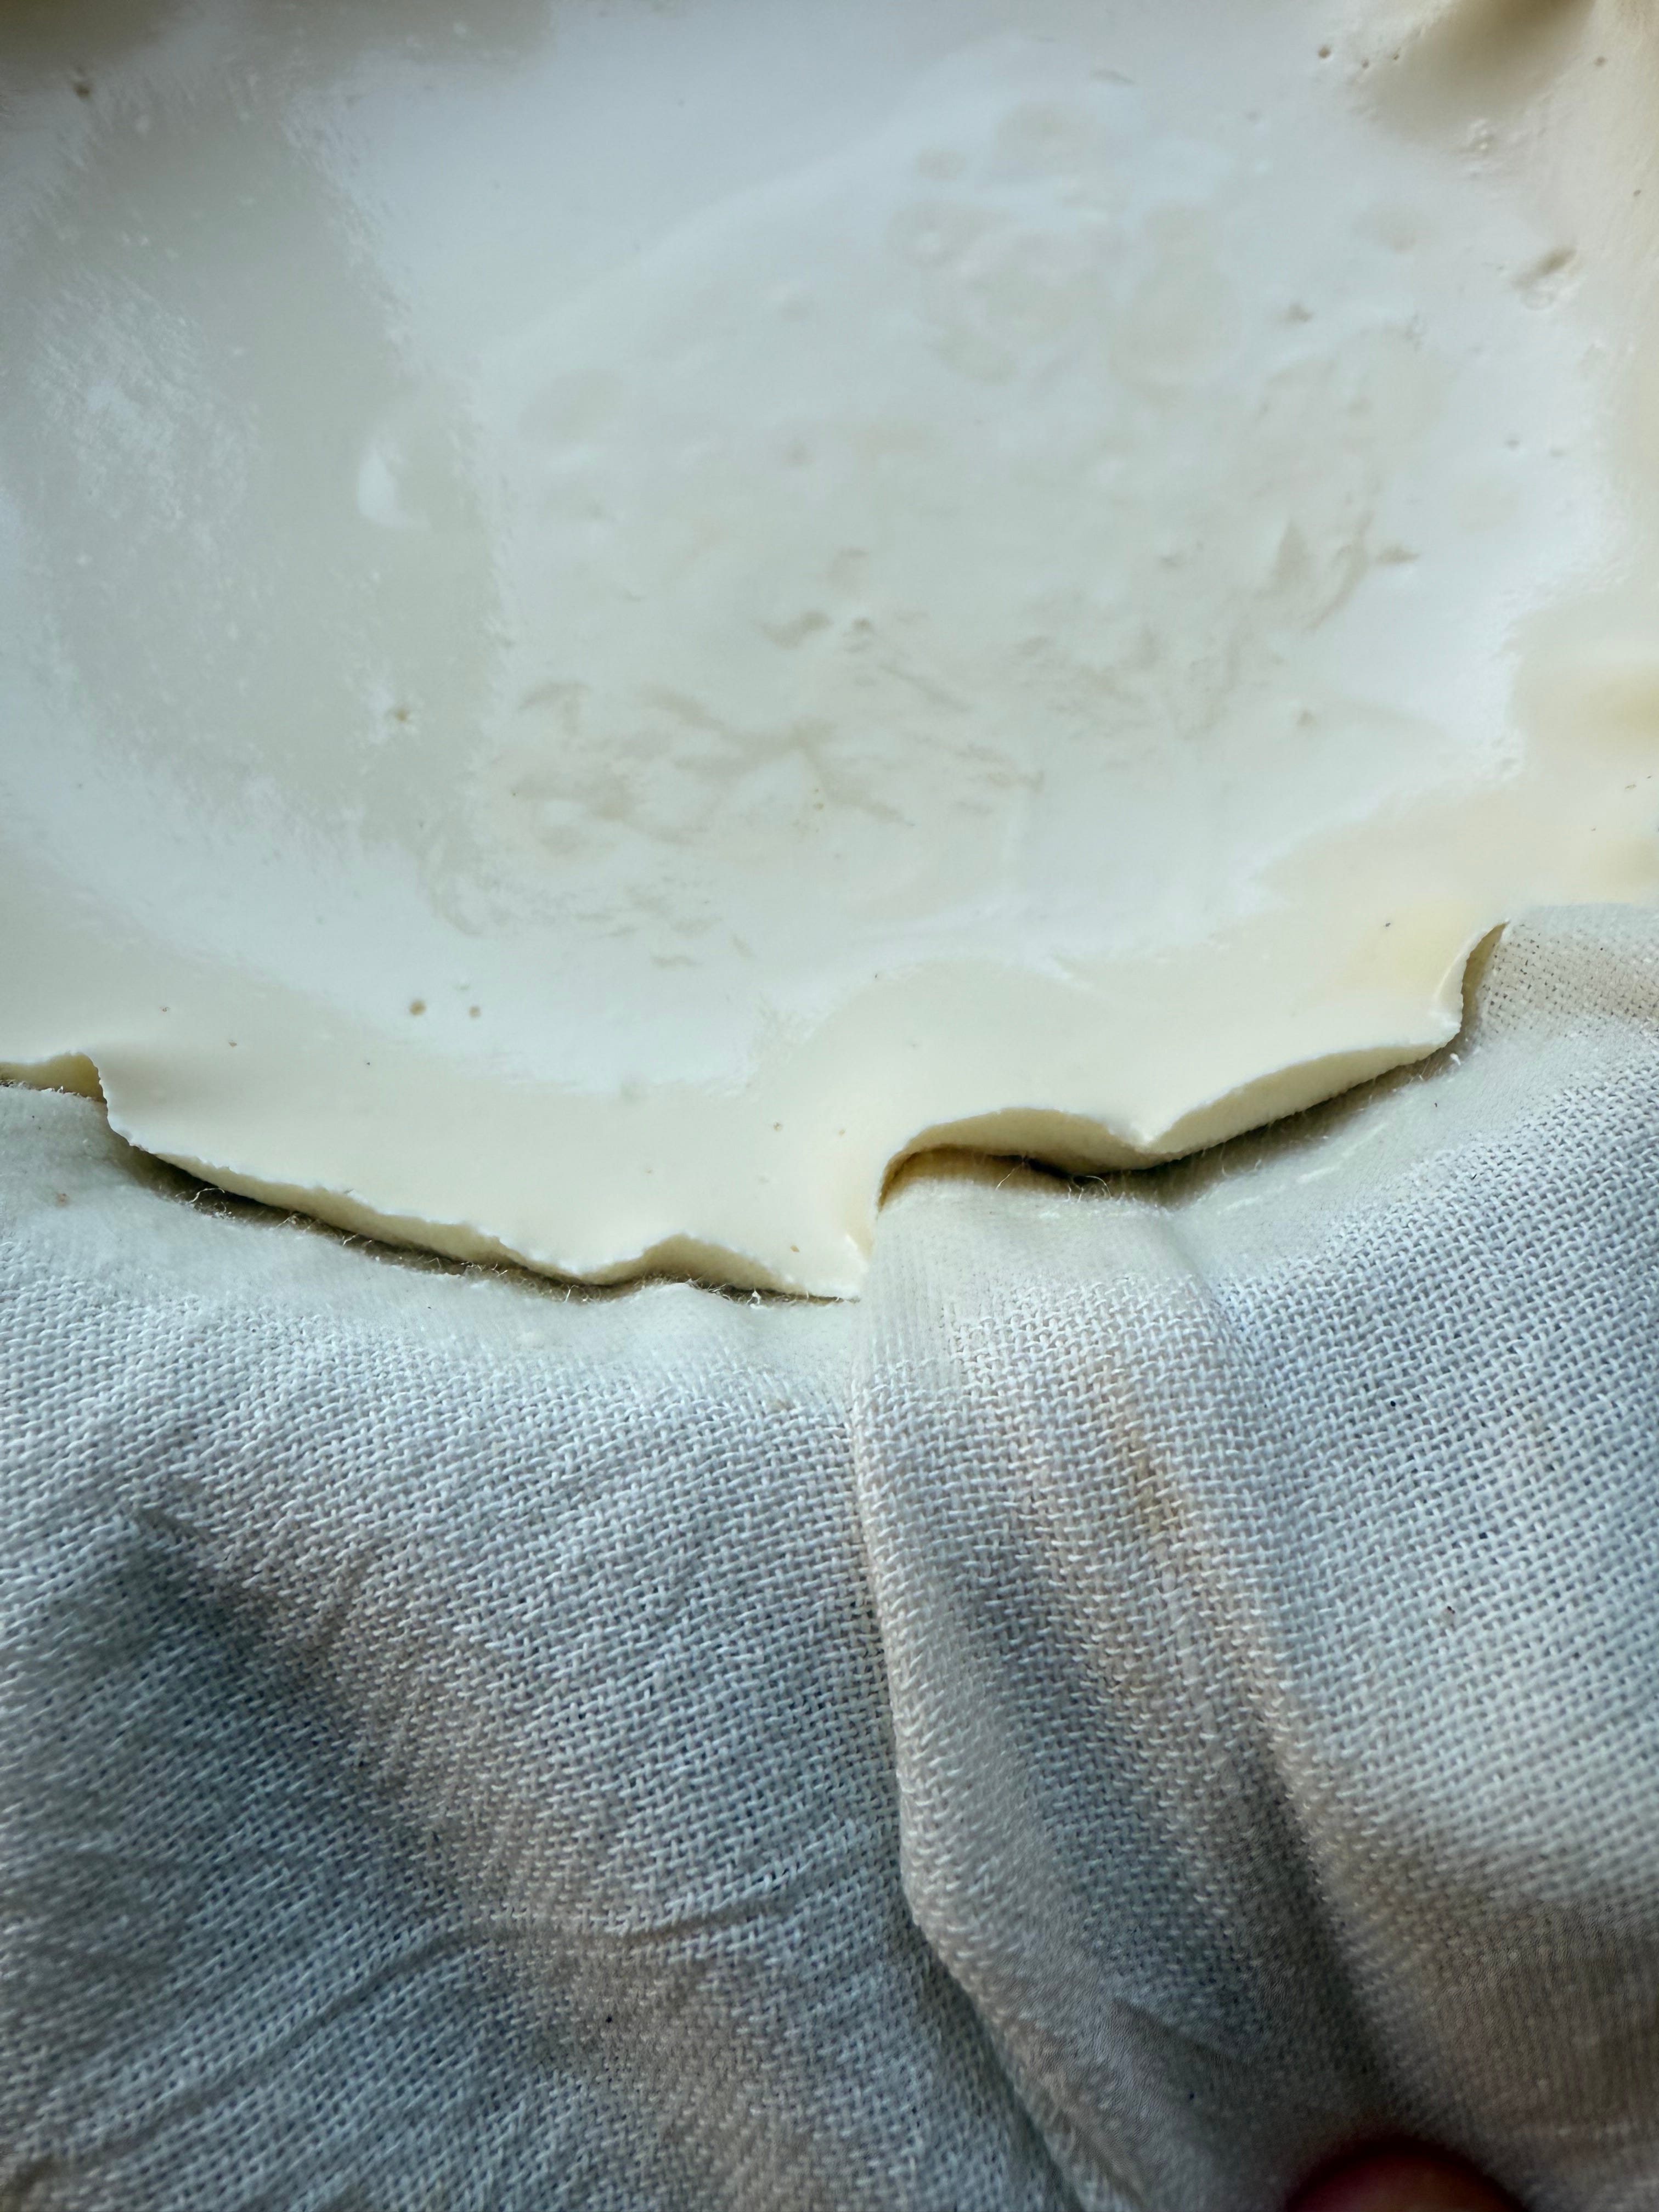
For Greek yoghurt, I re-use my cast iron pot I used for cooking, put the colander inside it, then line the colander with two layers of cheesecloth. I carefully pour the whisked mixture into the lined colander, then put the whole concoction into the refrigerator.
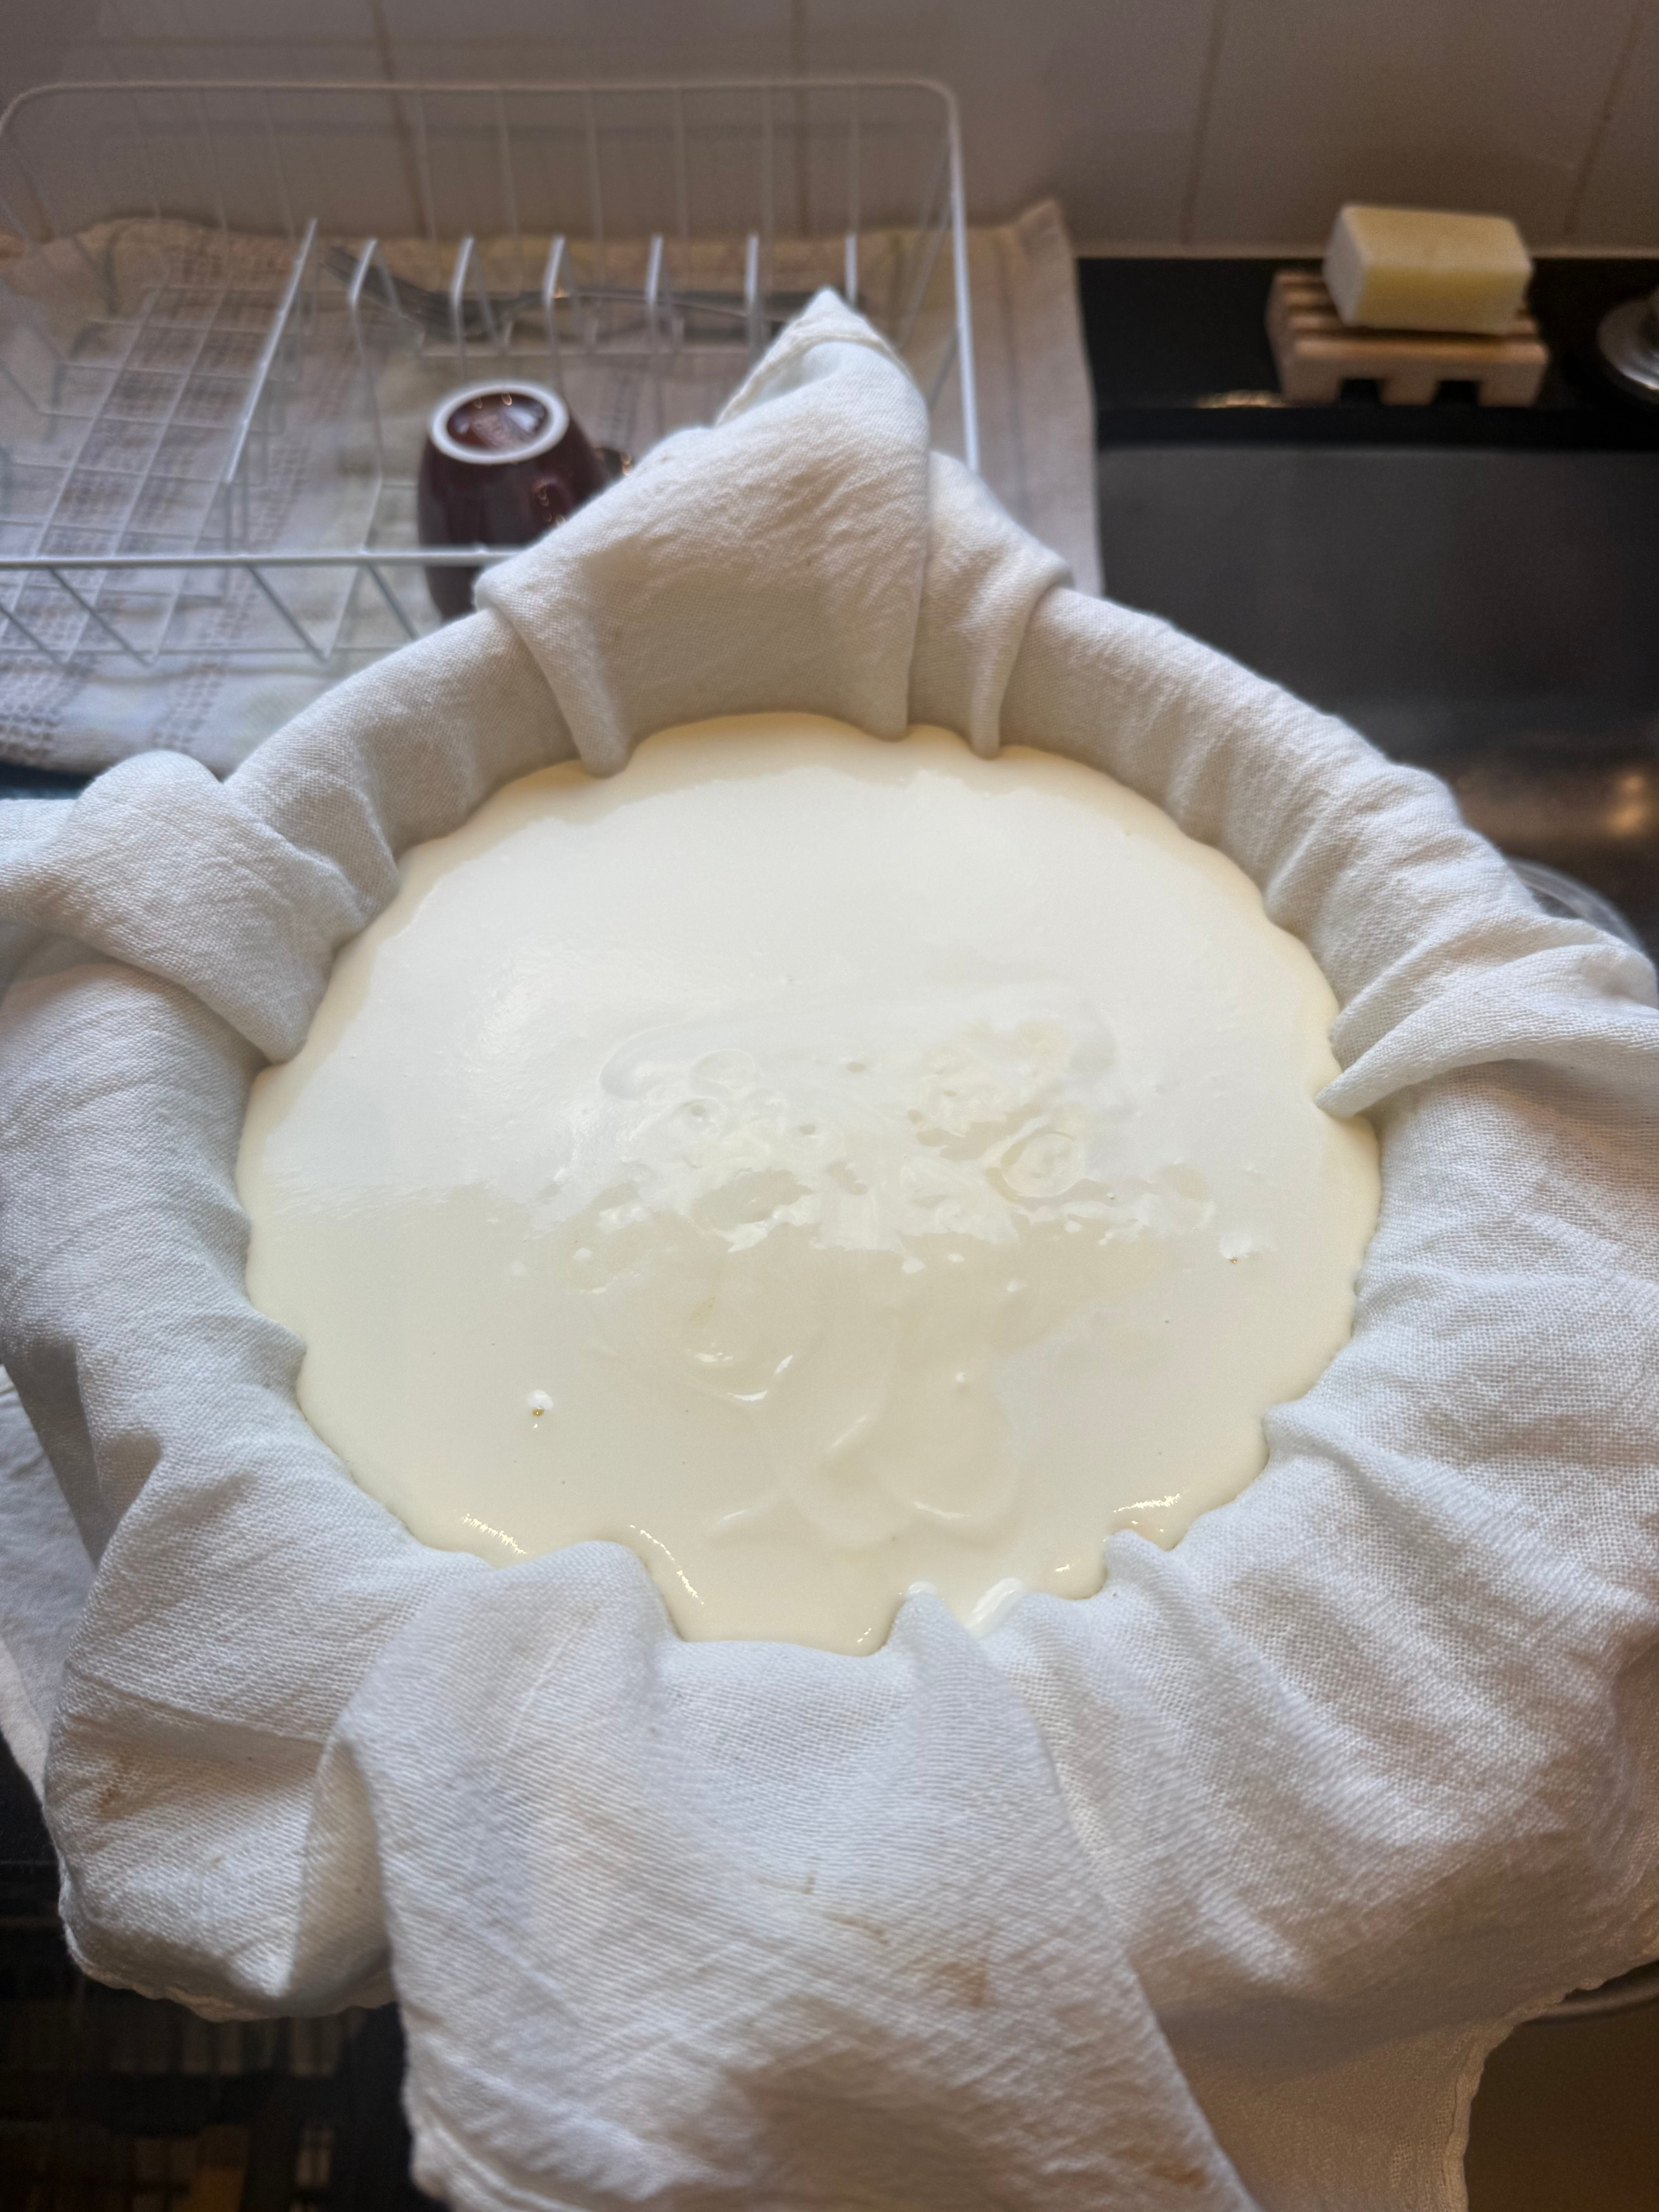
I would wait 4 hours for the draining process, but it’s all up to your personal preference. As the whey is draining into the bowl, you’ll notice that the level of the yoghurt drops in the centre, so eventually you’ll figure out a nice visual cue for when the yoghurt has drained the amount of whey you want to drain.
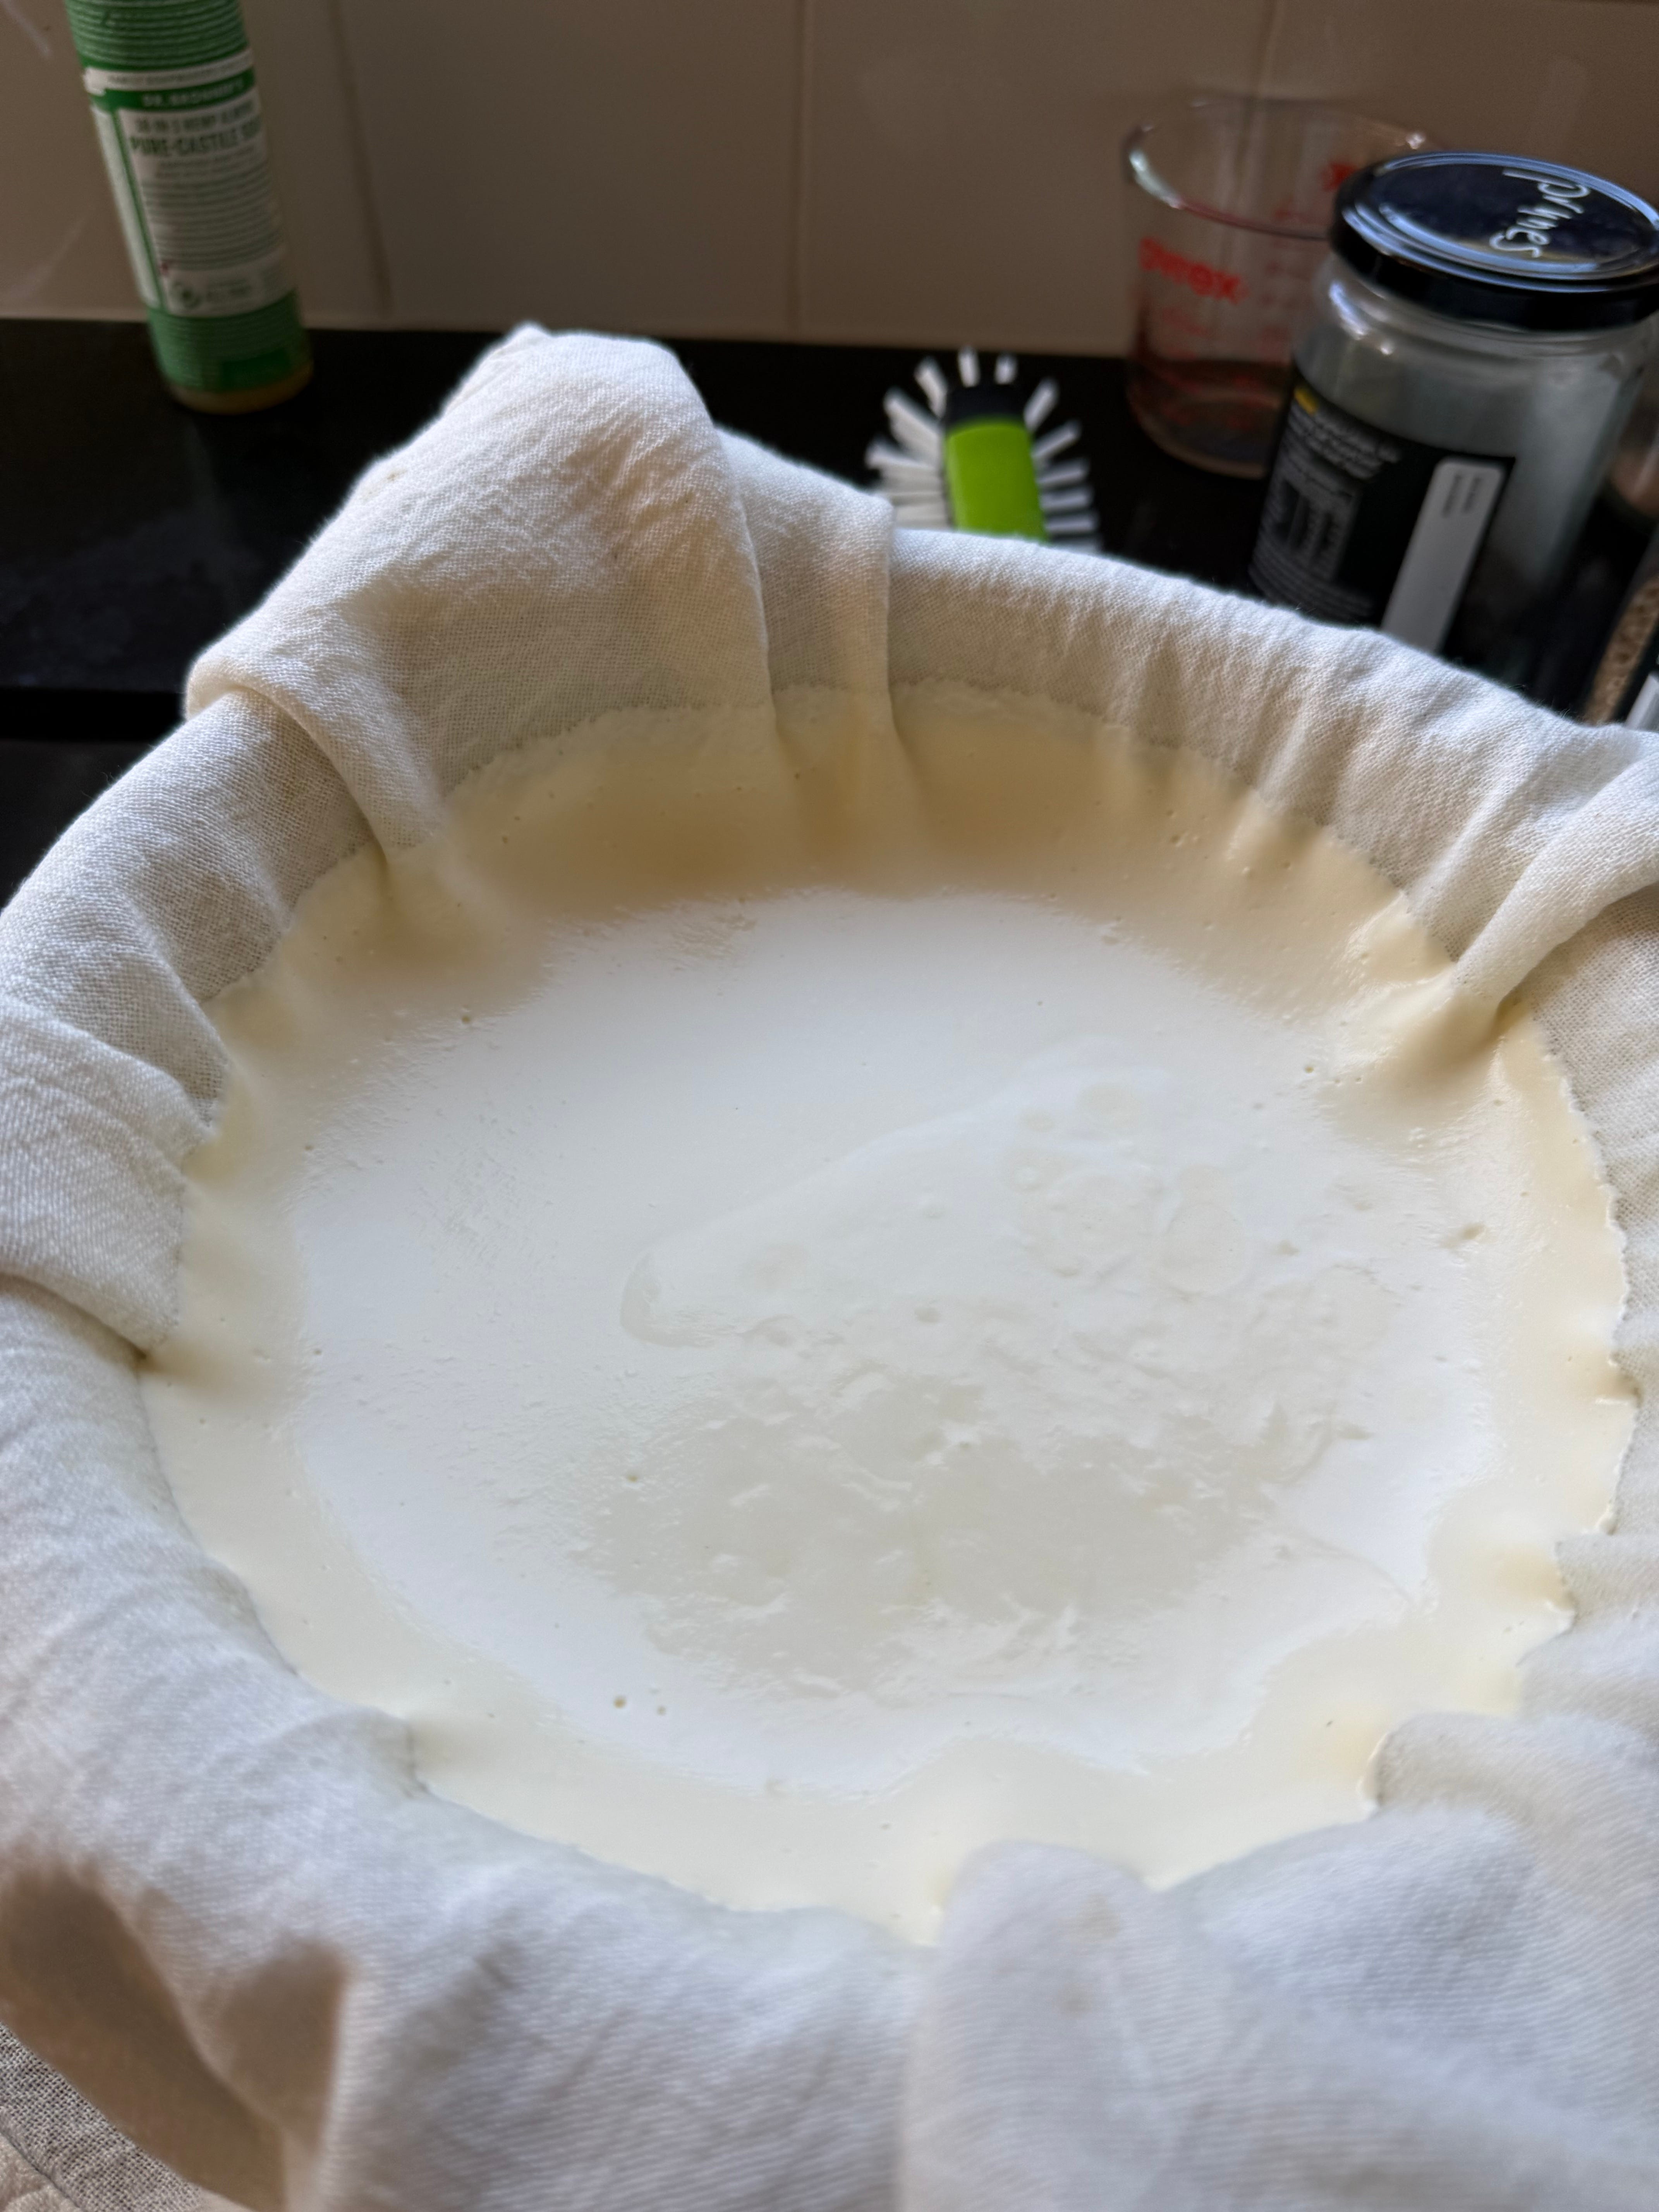
Another visual clue that it’s ready is that the yoghurt will separate from the edge of the cheesecloth if you lift it a bit from the edge. This indicates that it has dried out a bit. It’s much easier to extract the yoghurt from the colander if it’s dry enough, when it will detach easily from the cheesecloth. If it doesn’t separate, it might stick to the cheesecloth when you try to remove it, requiring some scraping.
So, at this point, I dump the yoghurt out of the colander back into the bowl I used earlier for whisking. Save the whey for a moment here. If you think the yoghurt is too thick, you can add some whey back into the yoghurt and whisk it up. Note that after refrigeration, the yoghurt will thicken even more, so this is something you’ll have to experiment with over time.
The excess whey can be discarded, or you can do a search for some interesting ideas for what to do with excess whey.
Packaging up the yoghurt
Whether you went the Greek yoghurt route or not, here’s the point where you can add some final ingredients, like maybe a teaspoon of honey, then whisk it in.
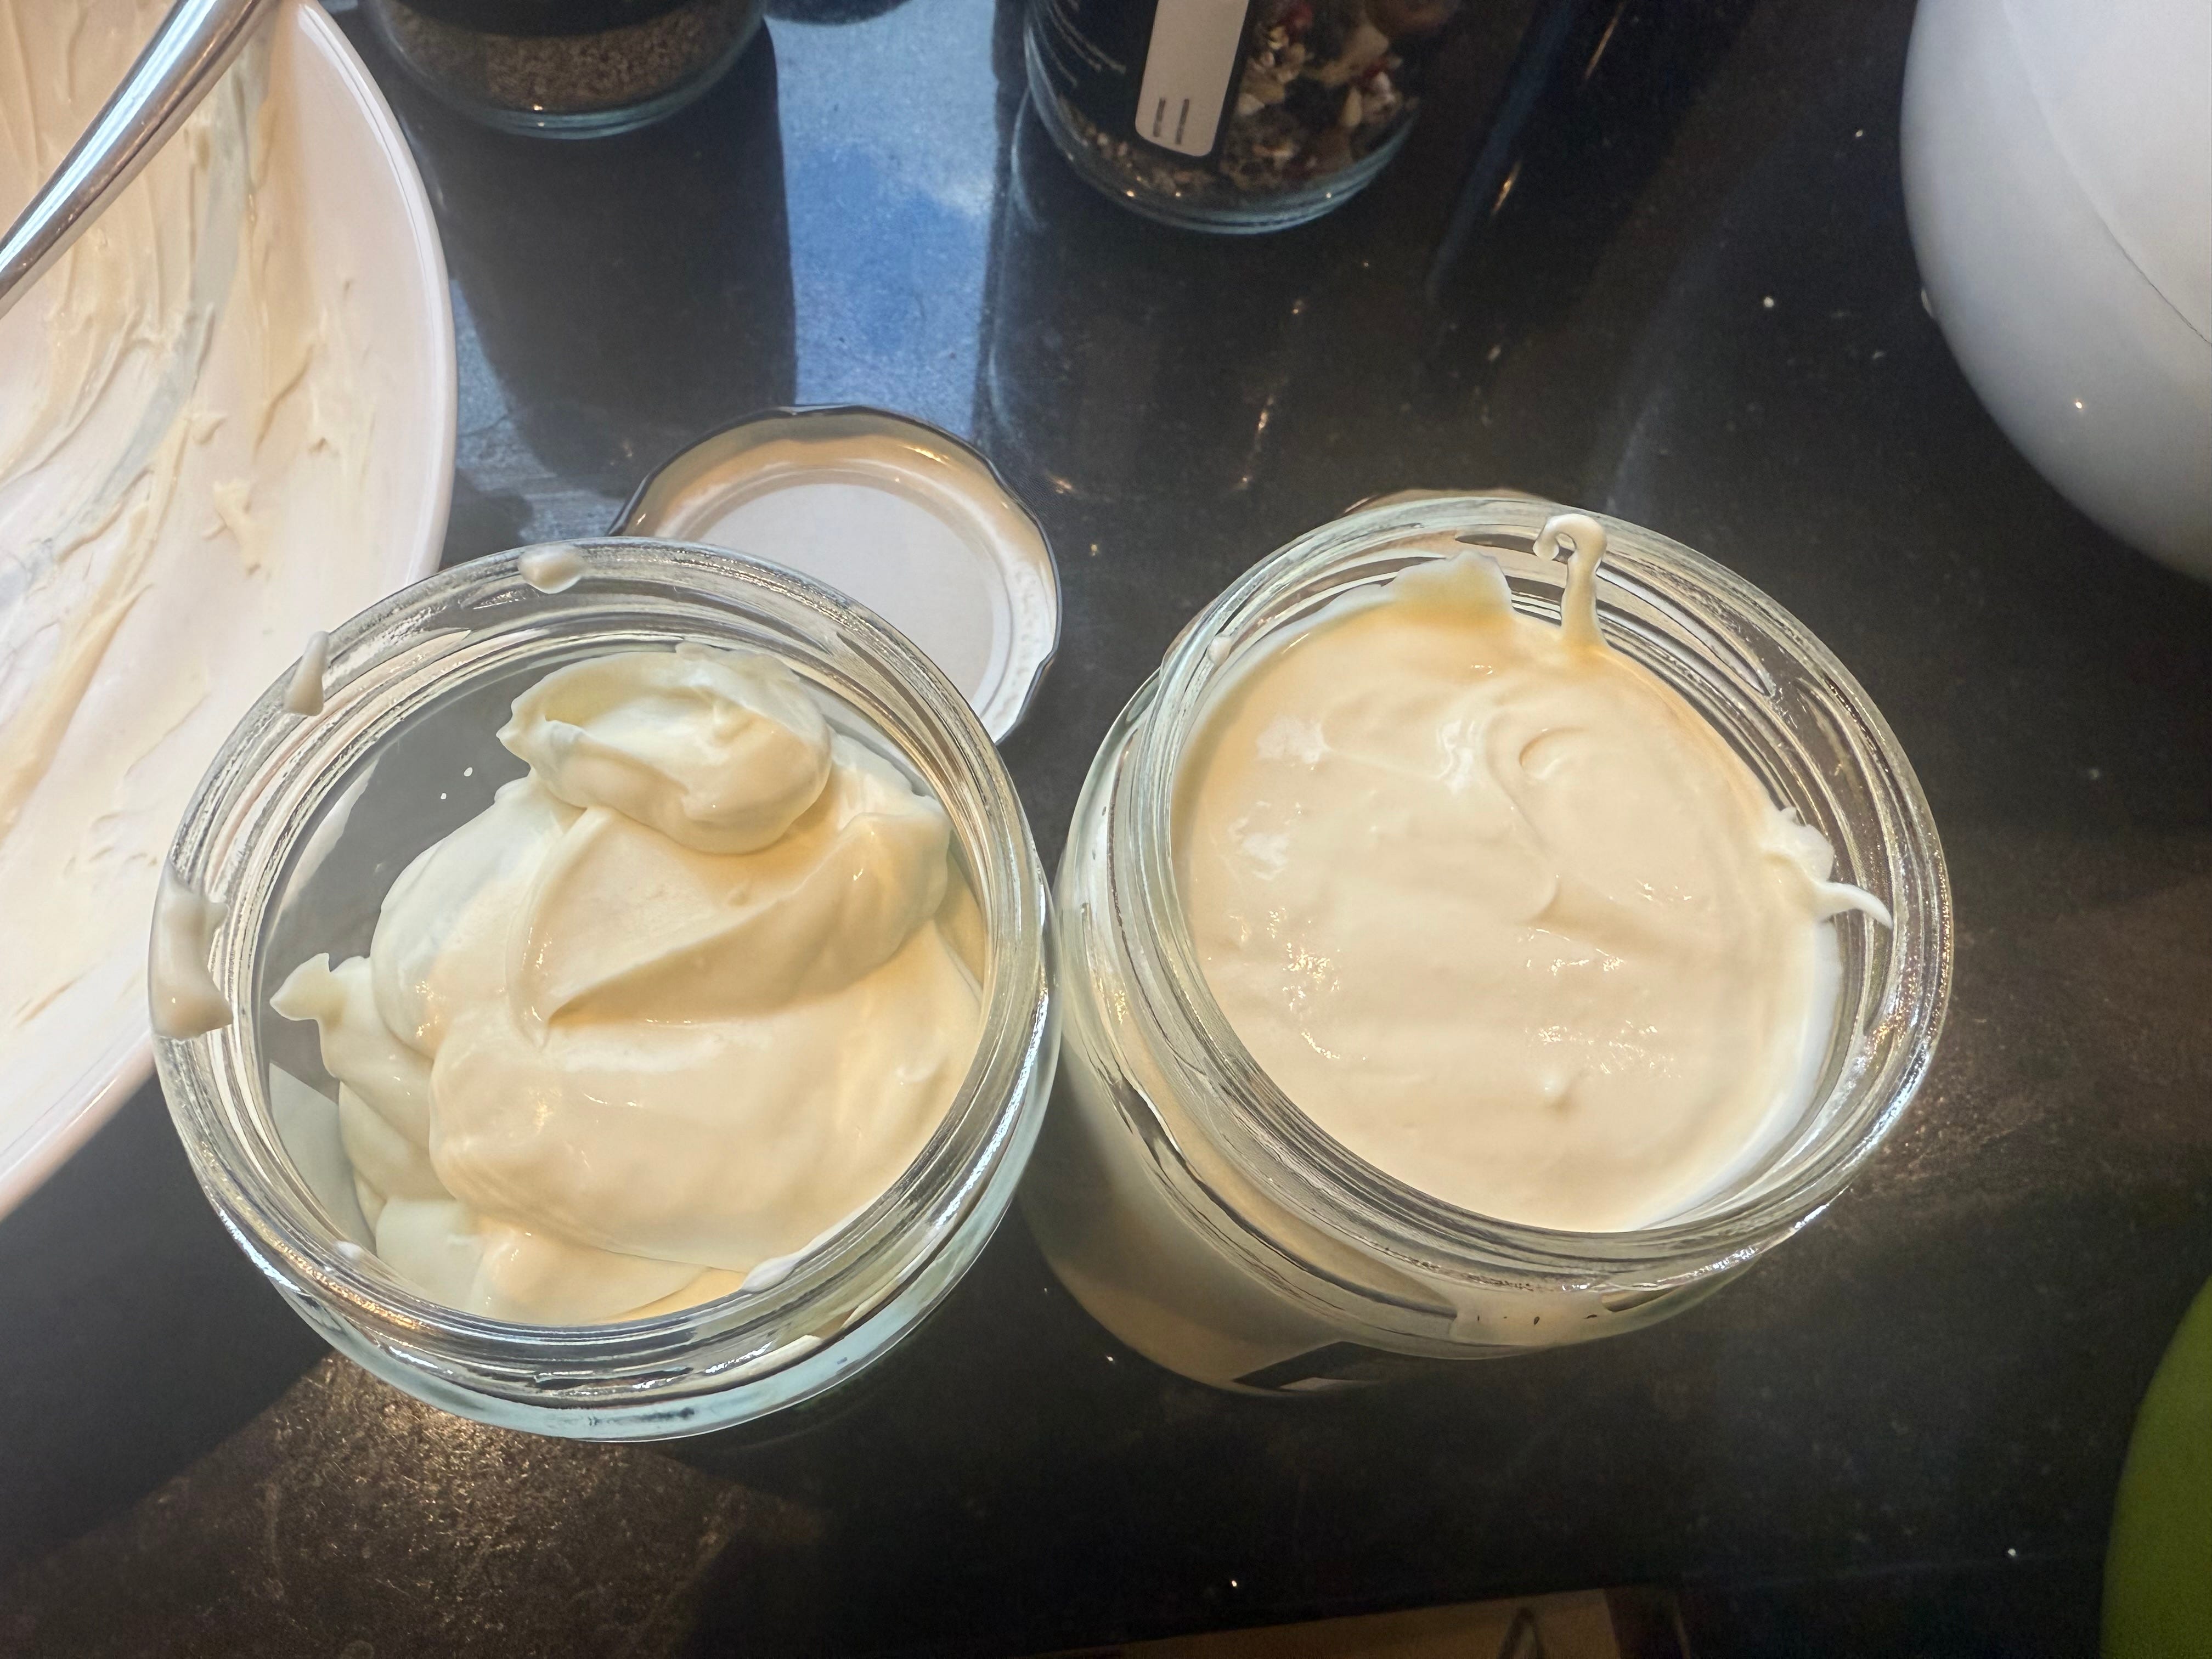
I typically make Greek yoghurt, which is quite thick, so spooning it into my storage jars requires a funnel, but you may find you need one. I’ve been re-using some sauerkraut containers and my recipes mostly fill up two 500ml jars. My latest batch was especially thick, so the second jar was only partially full.

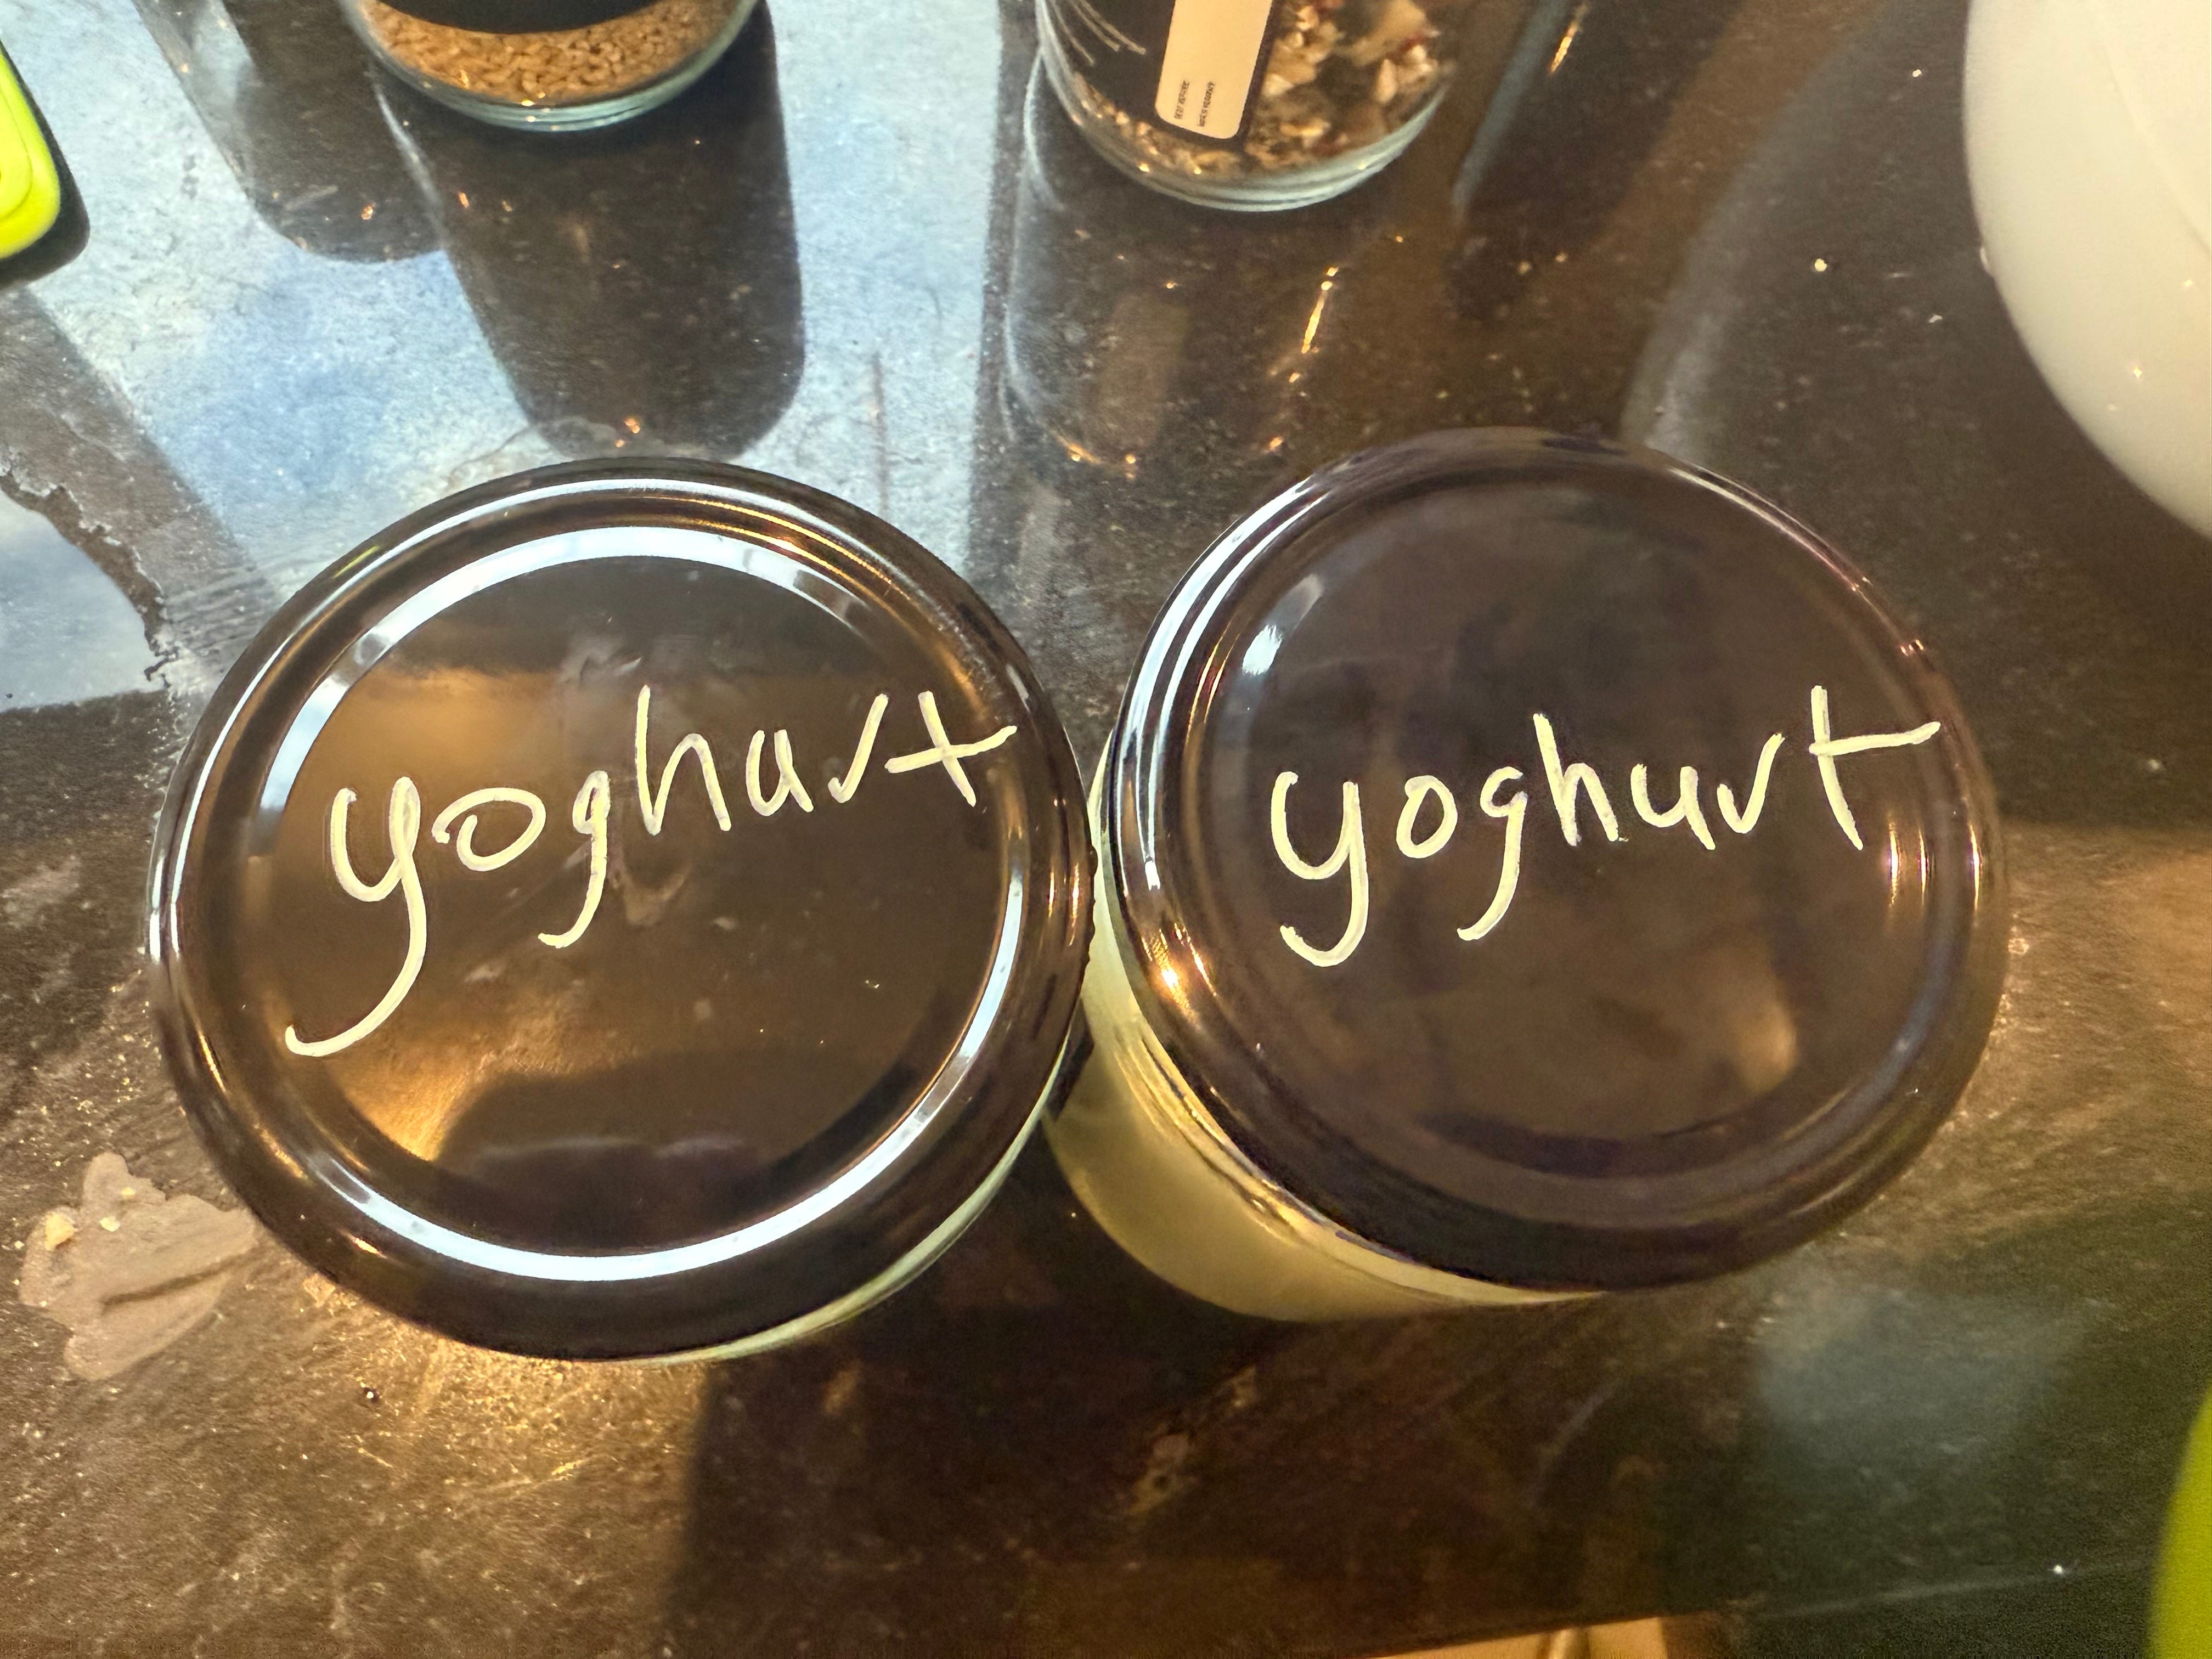
Then, to make it all professional, I’ll label the tops with an acrylic marker, which can be removed with some isopropyl alcohol or scrubbing with some soap and water.
Overall, this has been a really rewarding experience and turned more into a routine that I enjoy rather than a chore. I’ll even just whip up a batch while standing around in the kitchen eating breakfast, so the time commitment becomes less and less.
I’m super thrilled with the quality of the yoghurt I was able to achieve, especially considering I feel like I set really high standards.
Cleanup
The cheesecloth can just be hand-washed in some lightly soapy water, rinsed out, then hung up to dry. Hanging them in the sun will help them dry faster.
I’ve discovered the glass jars sometimes don’t come clean in the dishwasher, so you may need a bit of hand-scrubbing to get the yoghurt unstuck from the sides of the jar.
Troubleshooting
I’ve had only one batch of dairy yoghurt that was kind of a failure, and that was when I was absentmindedly adding water to cool the milk down and accidentally added a ton of water to the pot. However, I ended up straining the yoghurt and just ended up with a much smaller batch of Greek yoghurt that tasted fine.
If you have total failure for the yoghurt to solidify during fermentation, there are a number of possible problems:
You didn’t reach the 90°C threshold. Perhaps the thermometer was inaccurate or not placed properly, or you didn’t mix it up before taking a reading, and perhaps took the milk off the heat too soon. By not fully pasteurising the milk, you may have left some bacteria behind that are competing with the yoghurt bacteria, causing the lactofermentation to not work properly.
The milk cooled down too much for fermentation to take place. It could be the same thermometer issues, or you could experiment with keeping the yoghurt maker warmer during the process, or extending your fermentation time.
Your culture was bad. I’ve had some packets of yoghurt starter that seemed to fail on me, so I’ve had better luck just using yoghurt as a starter.
If you had successful fermentation, then you just may need to make small tweaks to your process to get the desired thickness, taste, and texture.
In some online recipes, I’ve seen people complain about lumps in yoghurt, but given my whisking at several stages, I’ve never run into that. I’ve also heard claims that more whisking during cooking can lead to creamier yoghurt, but I’ve never tried less whisking, really, so I can’t comment on that.
Raw milk
Since heating the milk to 90°C effectively pasteurises the milk, there is no benefit to making yoghurt with raw milk. Save that for drinking.
Coconut yoghurt
An interesting side note is that I attempted to make coconut yoghurt, using either coconut milk or coconut cream, and using a non-dairy starter or store-bought coconut yoghurt.
And I’ve never successfully gotten ANY fermentation to happen. Given my amazing success with the dairy yoghurt, I’m quite puzzled. The only difference in the recipes I’ve found is that they typically recommend heating to 85°C instead of 90°C, but I’ve been careful ,and at this point, I’m suspecting that the coconut milk or cream I’m using may not be suitable for yoghurt.
So, if anyone out there has a lot of failures and successes with coconut yoghurt to share, I’d love to swap ideas.